

| (530) 265-4485 |
| Pretty ~ That's for Sure! |
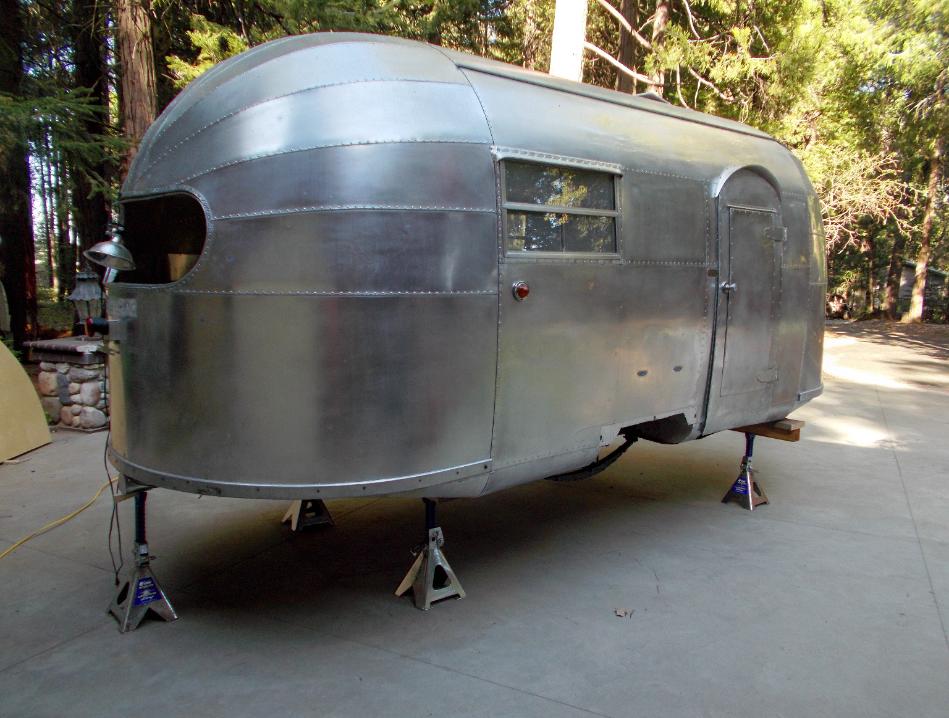
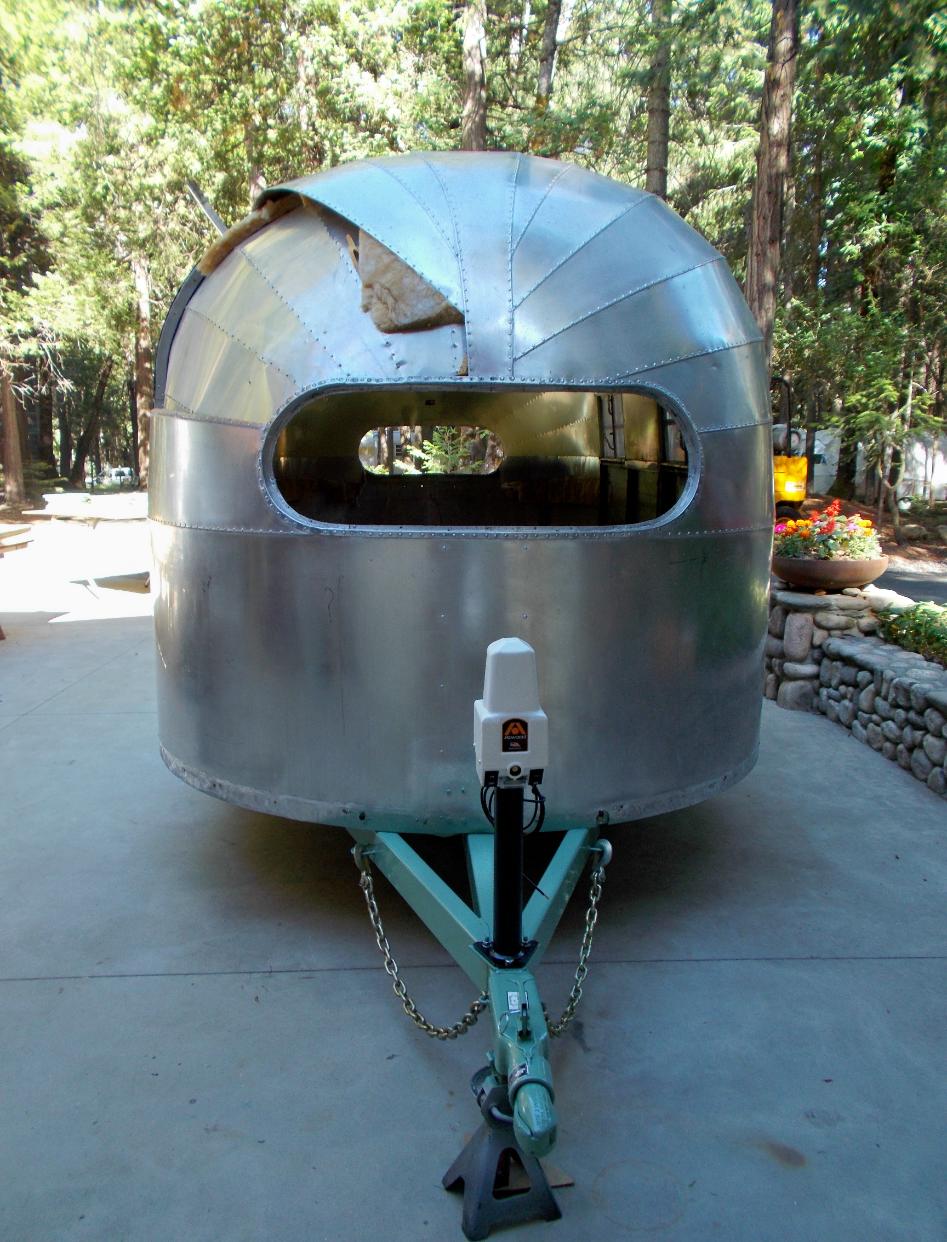
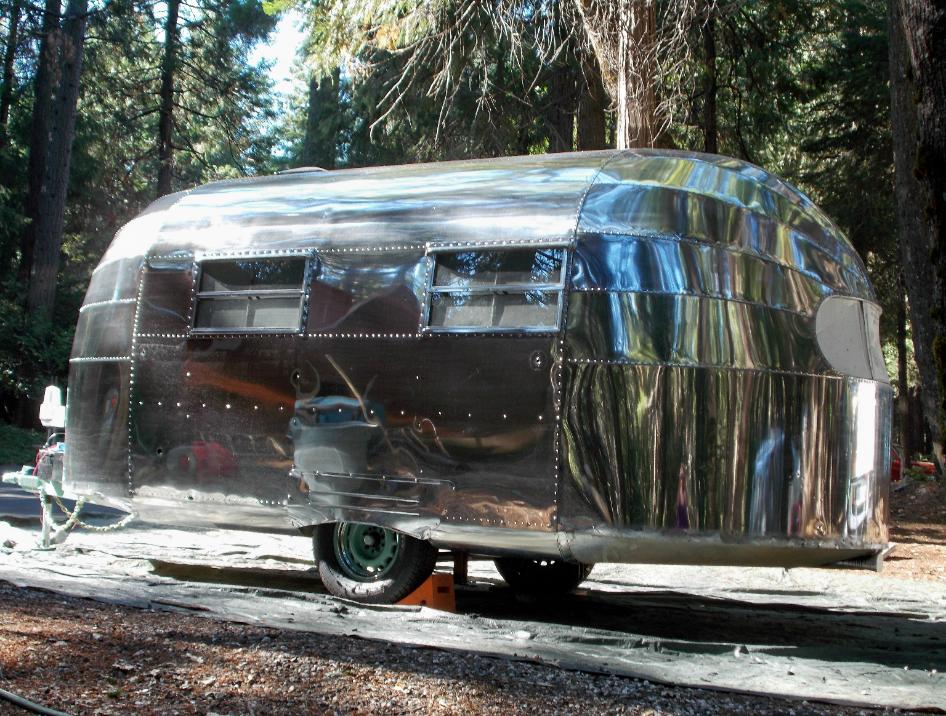
| Ranger Doug 1948 Airstream |

| Ranger Doug from Alaska found himself a Gorgeous 1948 Airstream. The Body is in Excellent Condition. Many of the Interior Parts will be kept and possibly worked into the new design. The floor and axle, however, needs to be replaced before he can go forward with the custom interior. That's where Sierra Trailer Restoration comes in! |
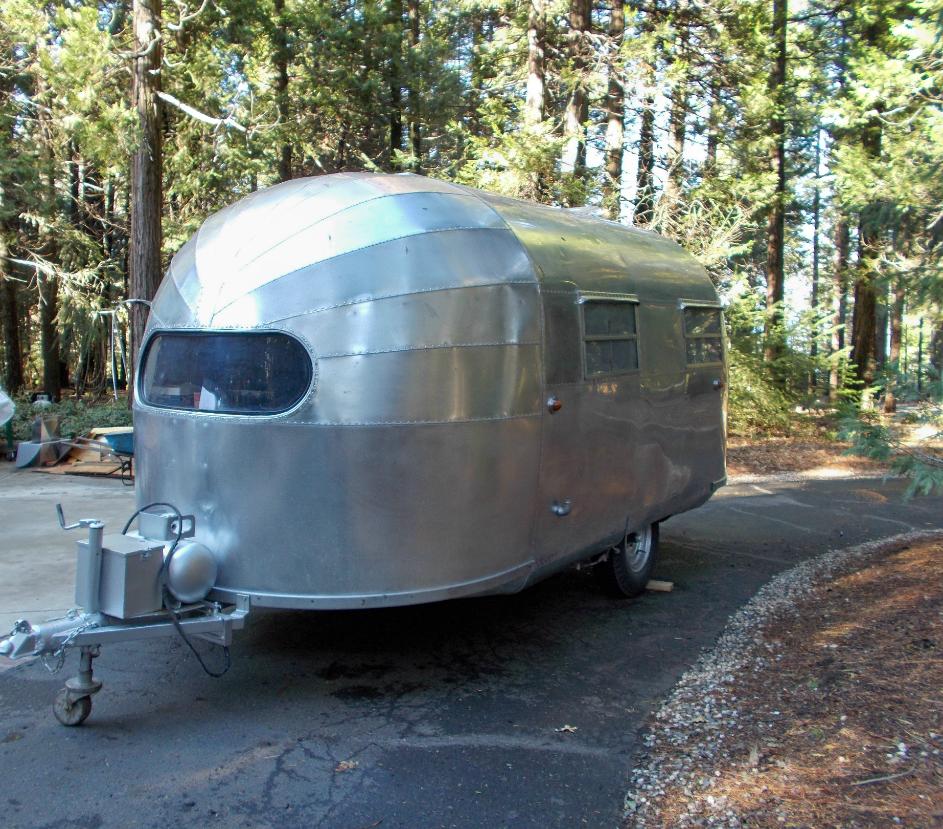
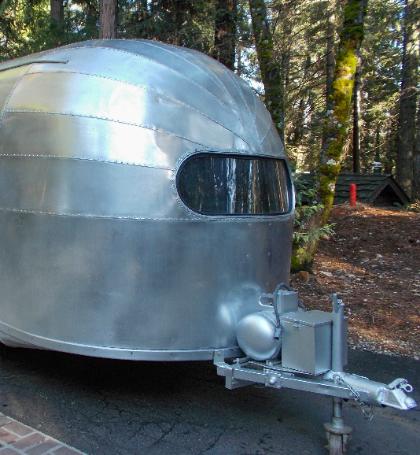
| Different Angle with a Peek at the Driver Side |
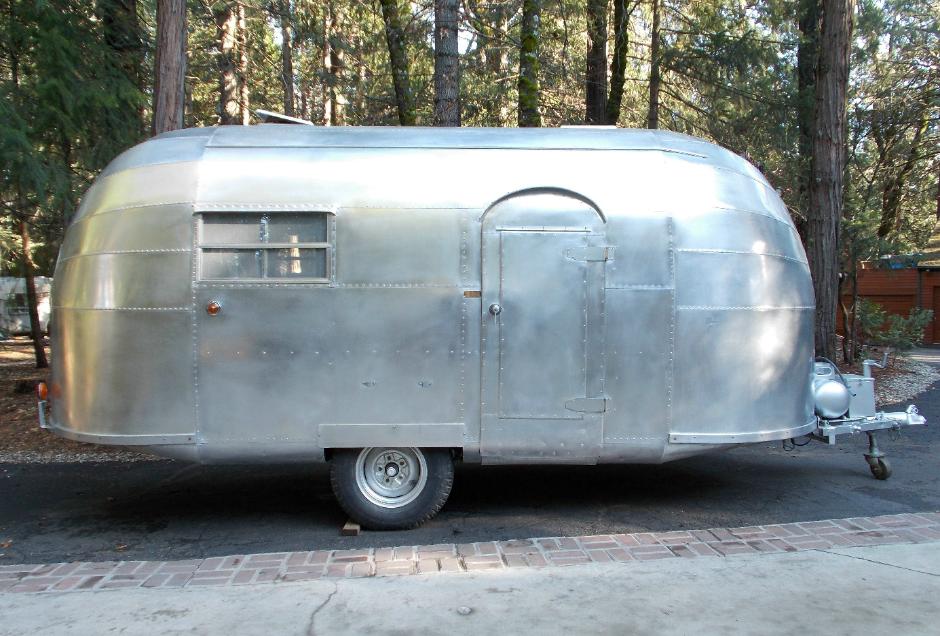
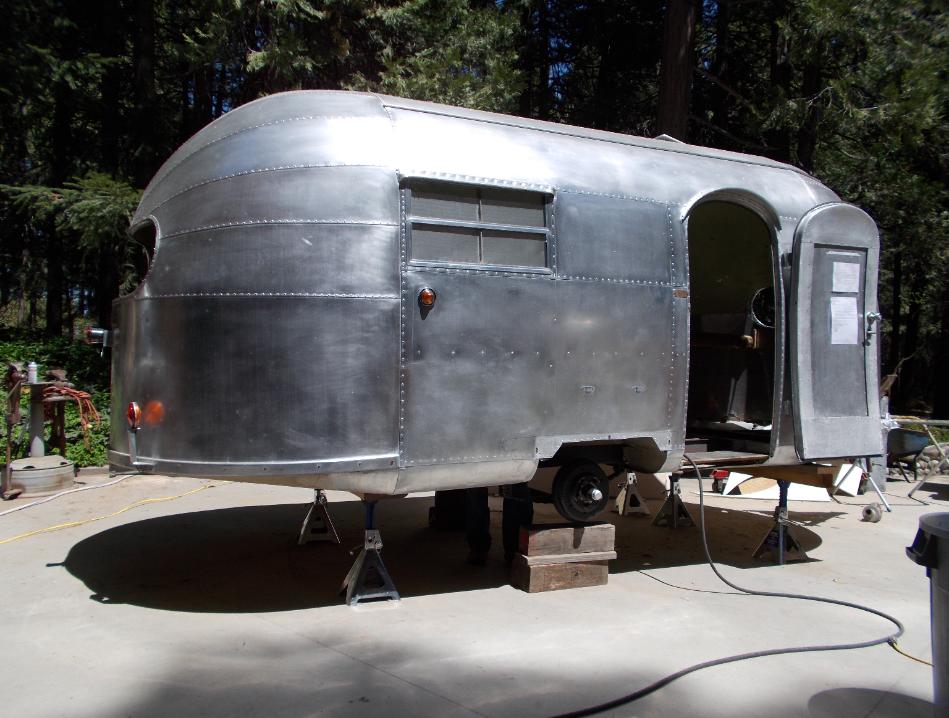
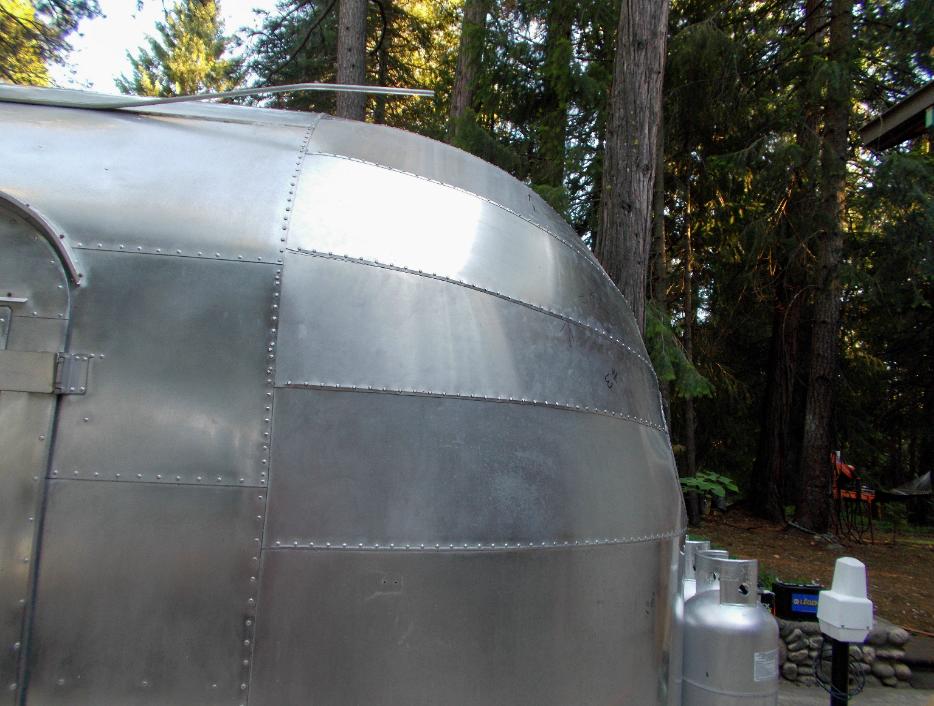
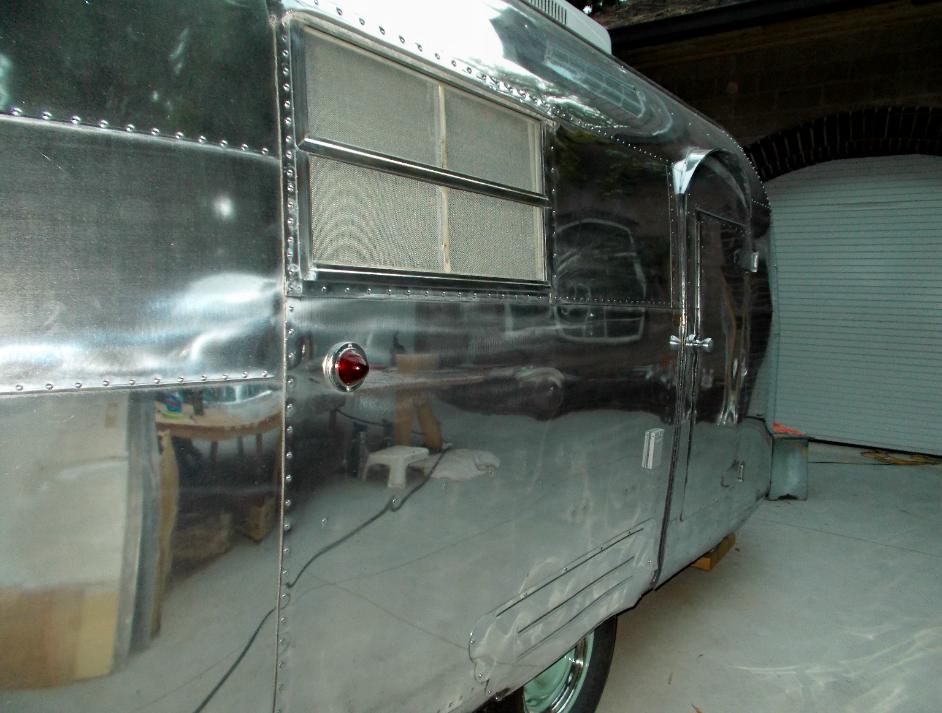
| Nice Picture of the Passenger Side - a few dents but we can fix them. |
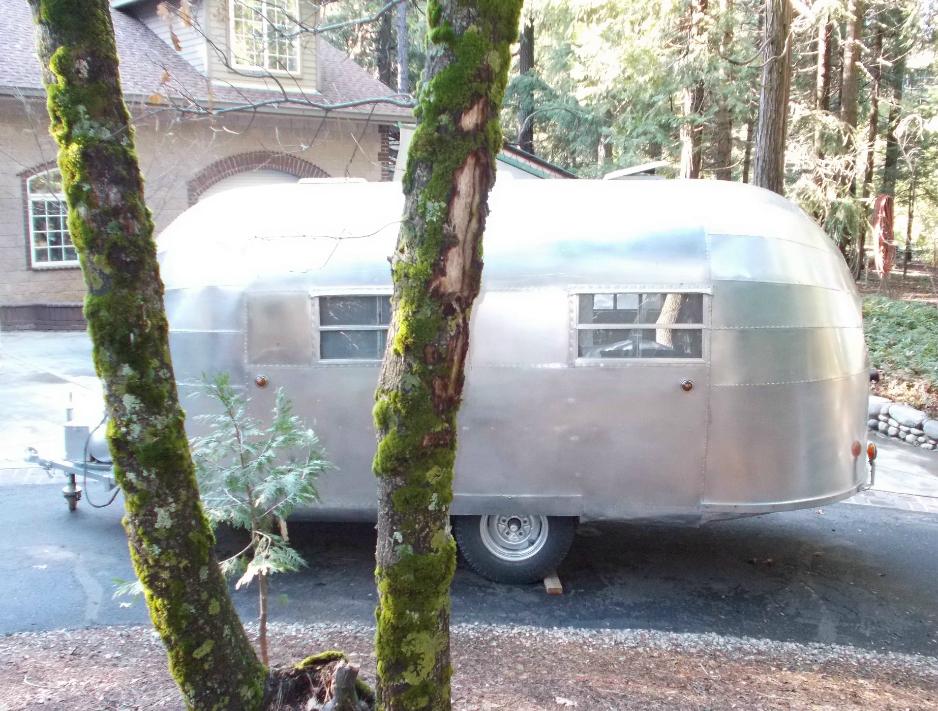
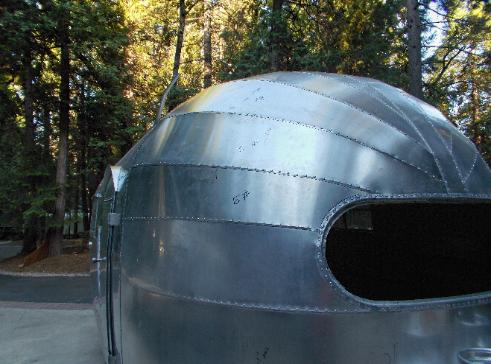
| Driver Side |
| This is one nice trailer any way you look at it. Terrific Rivit Pattern! |
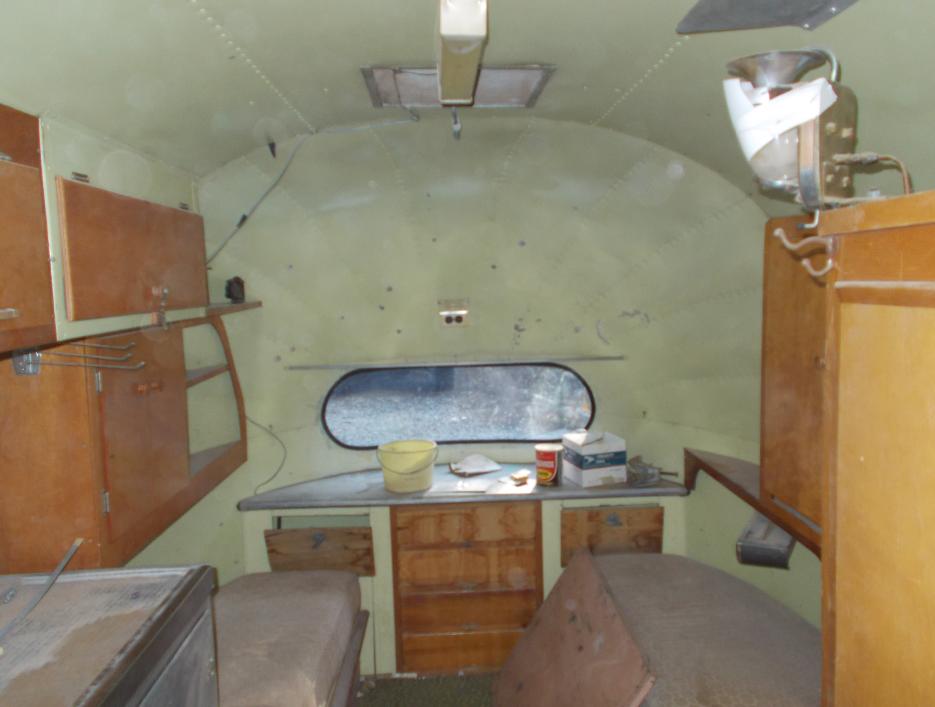
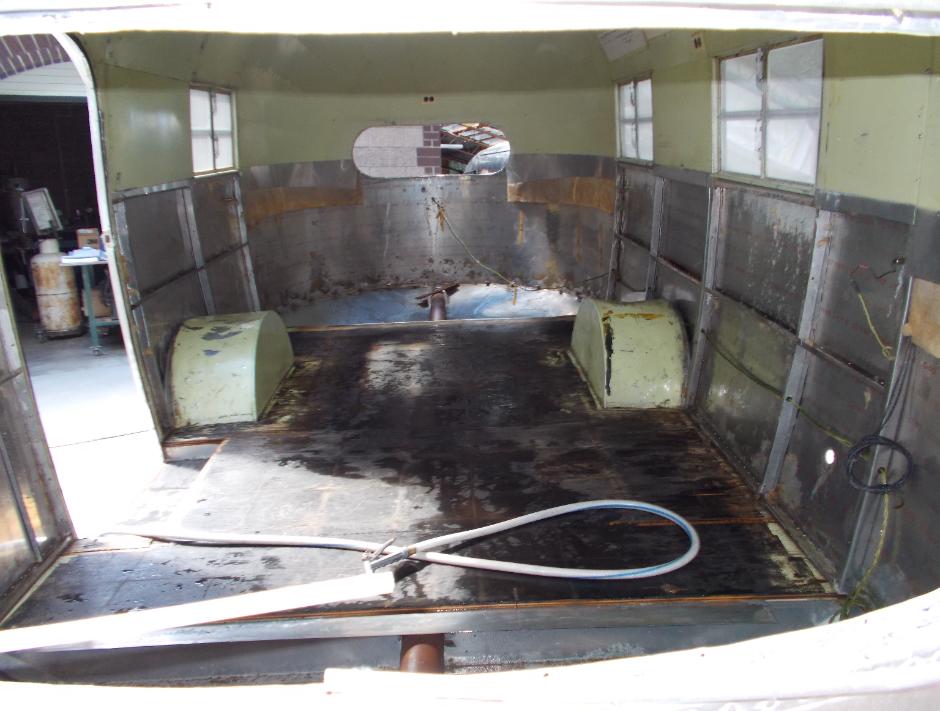
| Original Interior ~ Front ~ Dining Area |
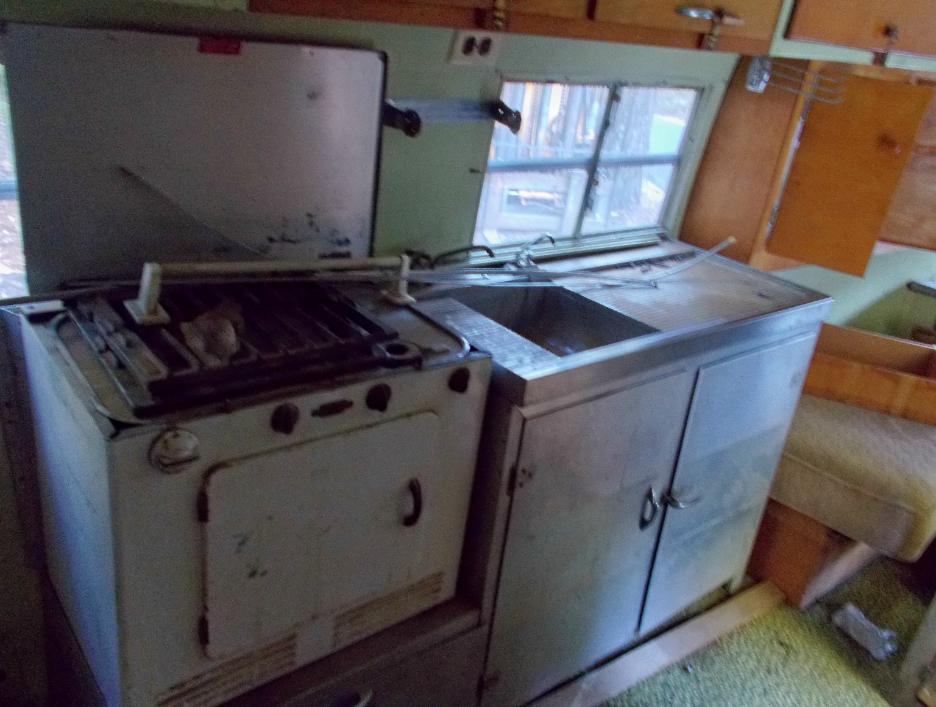
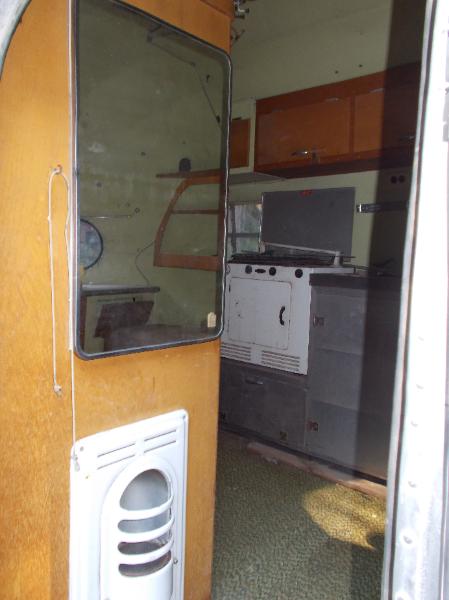
| Original Stove & Aluminum Kitchen Cabinets (These can be refurbished and worked in to the new Floor Plan) Always nice to keep some of the old goodies |
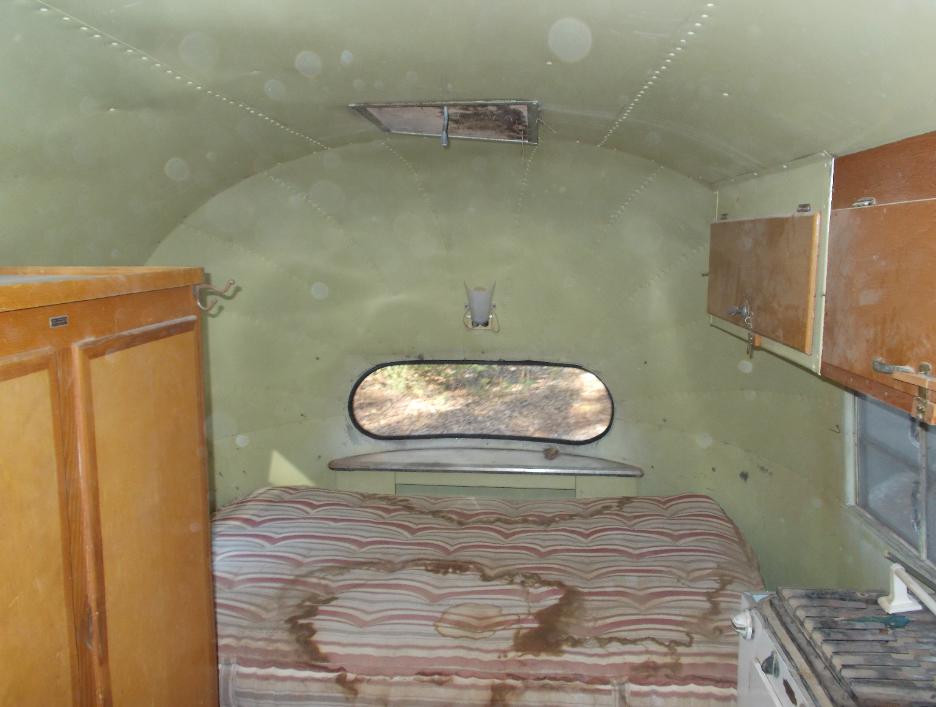
| Interior Rear ~ Sleeping Area |
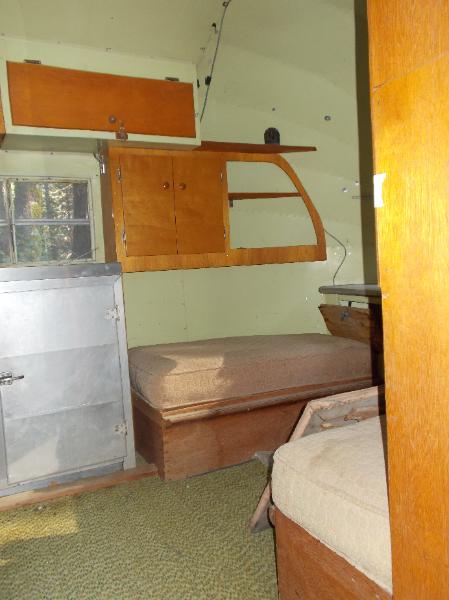
| View From Entrance looking Left |
| View From Entrance looking Right |
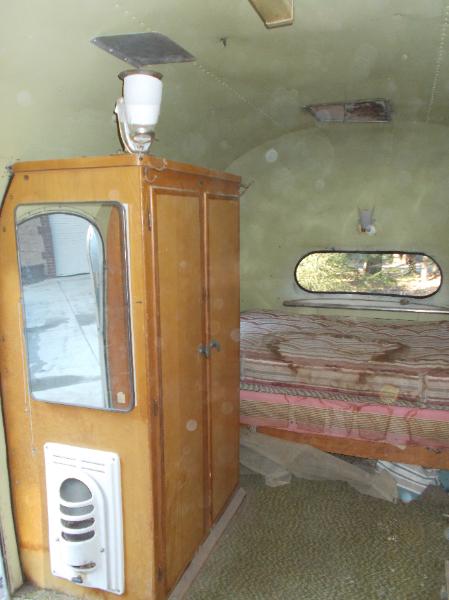
| Closet Cabinet |
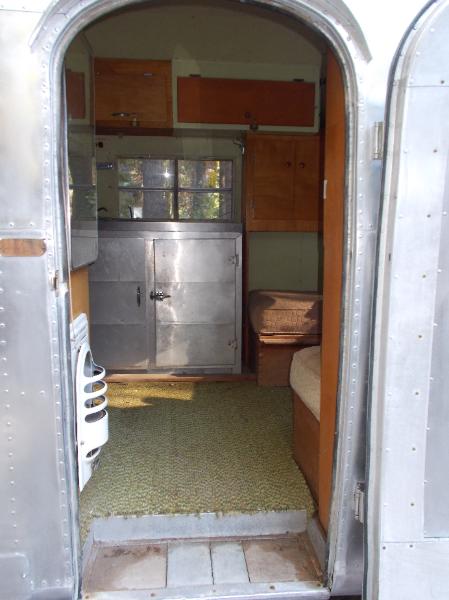
| View From Entrance looking Straight |
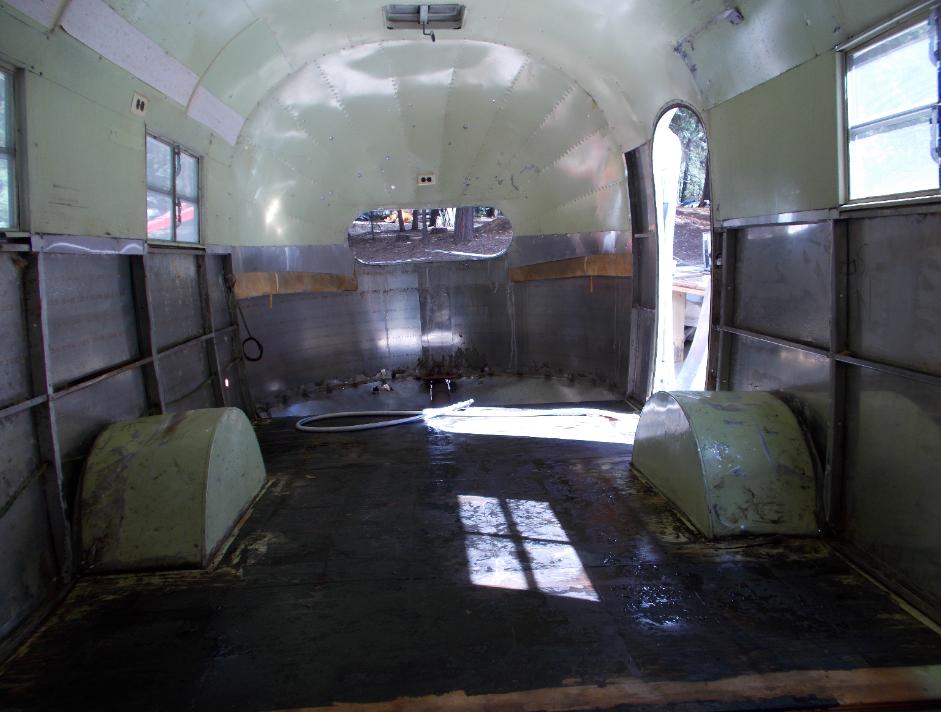
| Always a bit of a shame to "Gut the Interior" but that's the only way to replace a floor. |
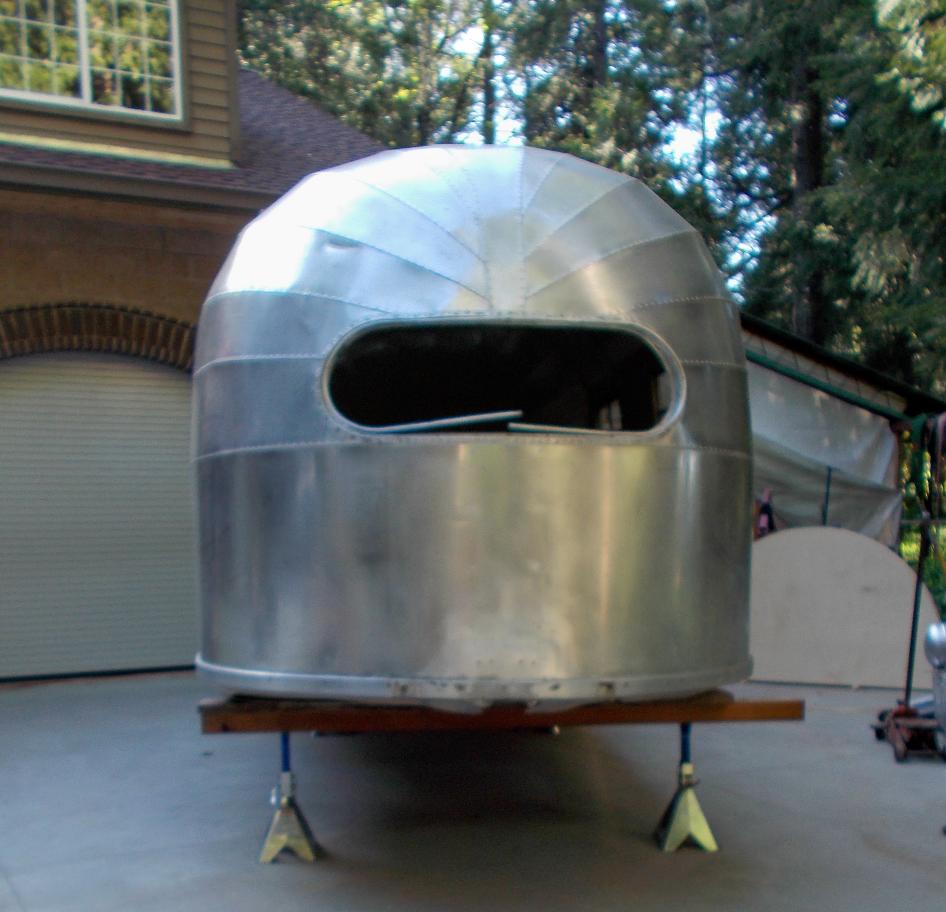
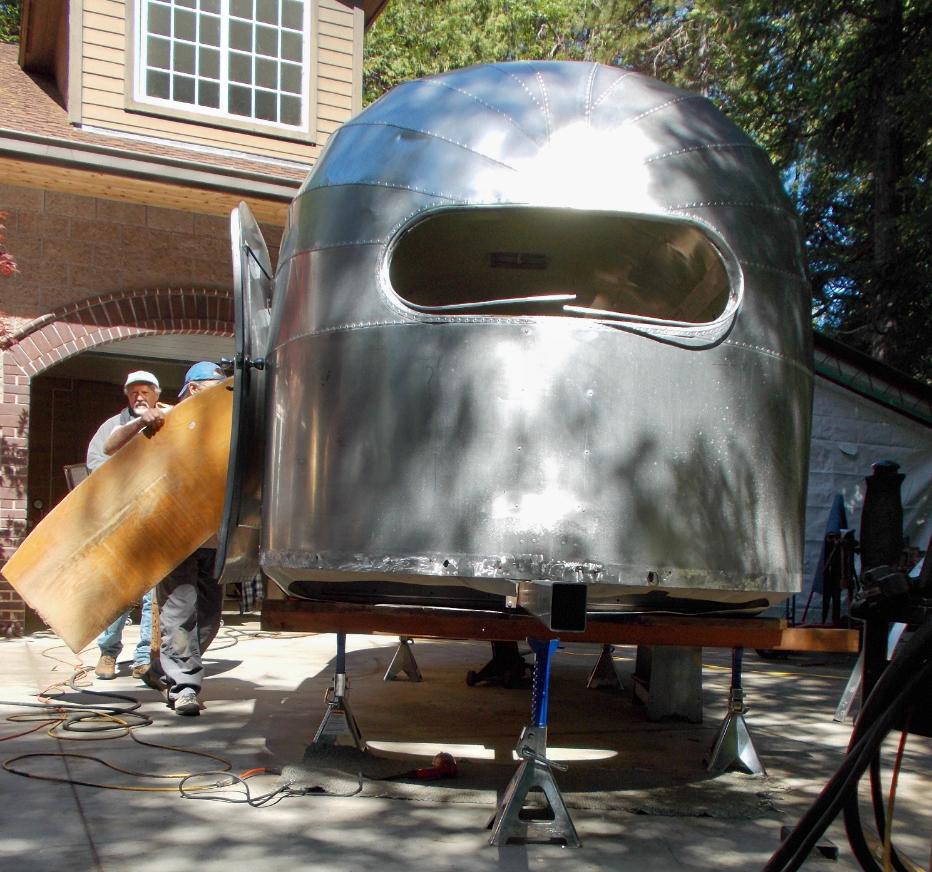
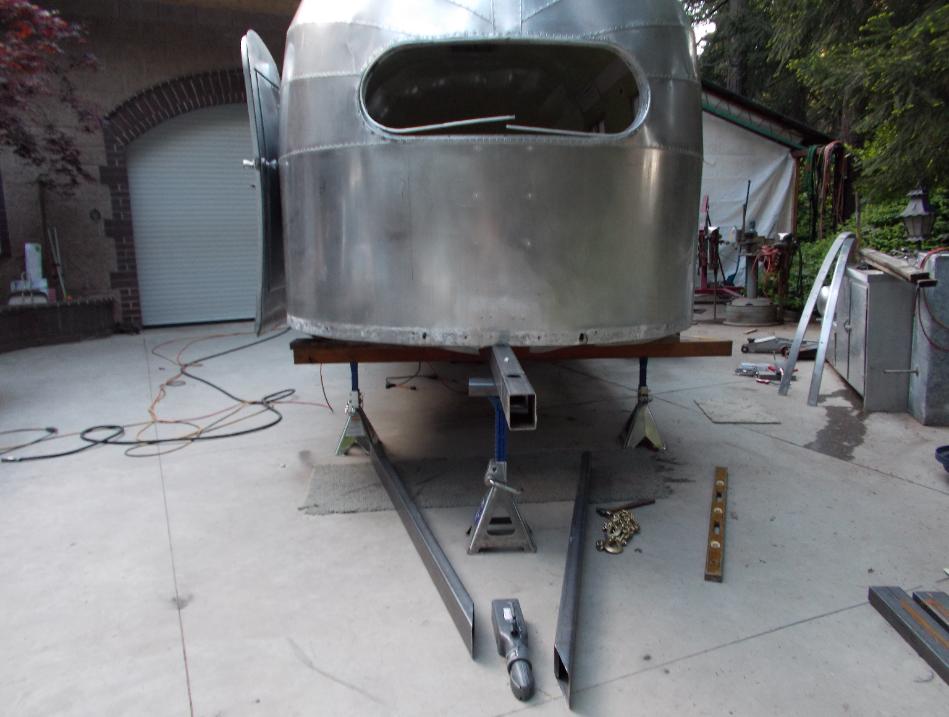
| Front View of the 1948 Airstream Shell |
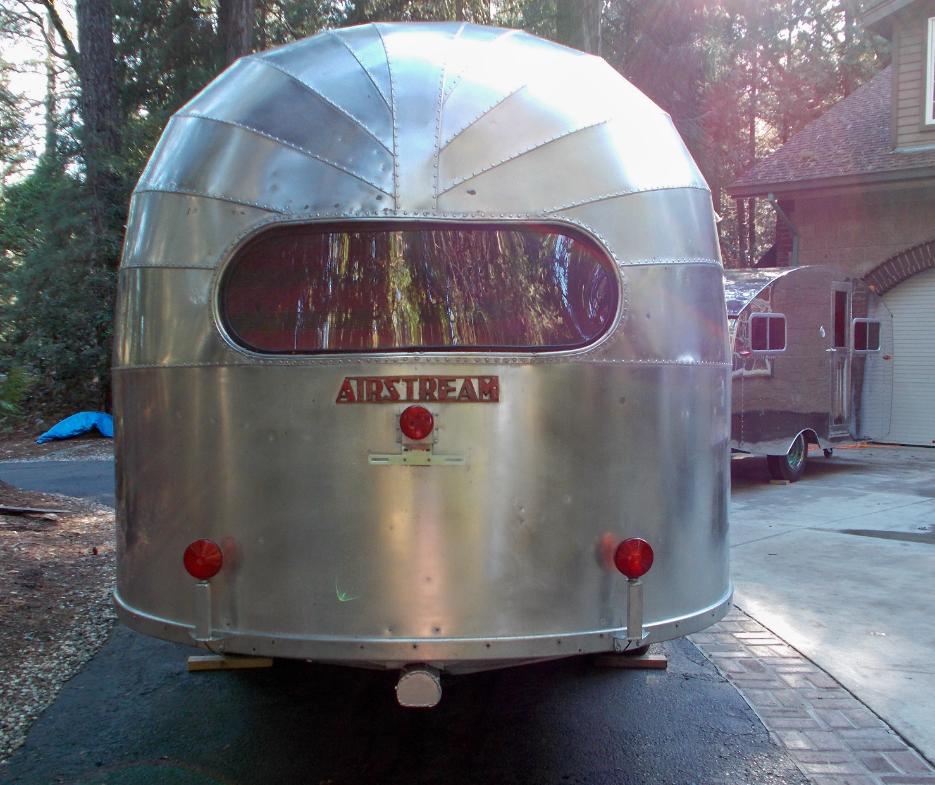
| Rear View |
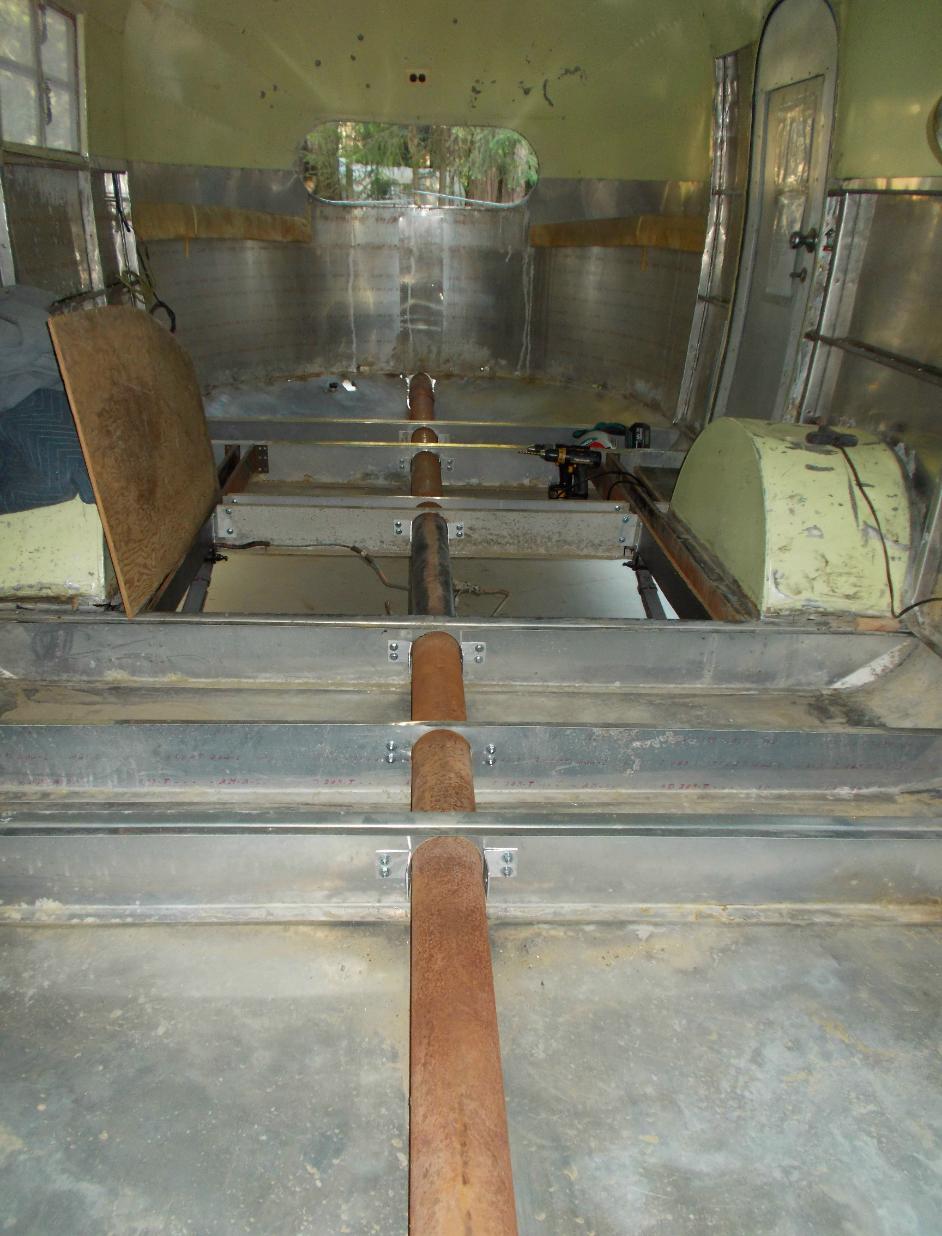
| Floor is Out & Cross Member Repairs are shown |

| That's Tim on the Job |
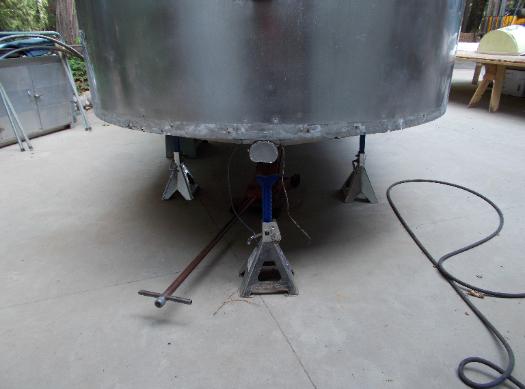
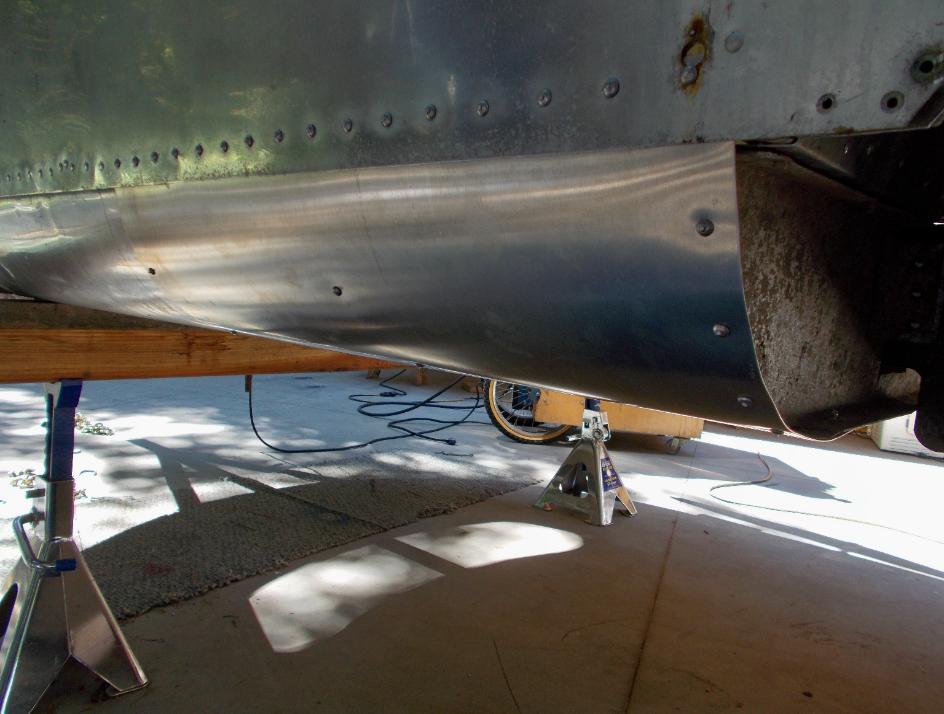
| Getting Ready to Remove the Old Axle |
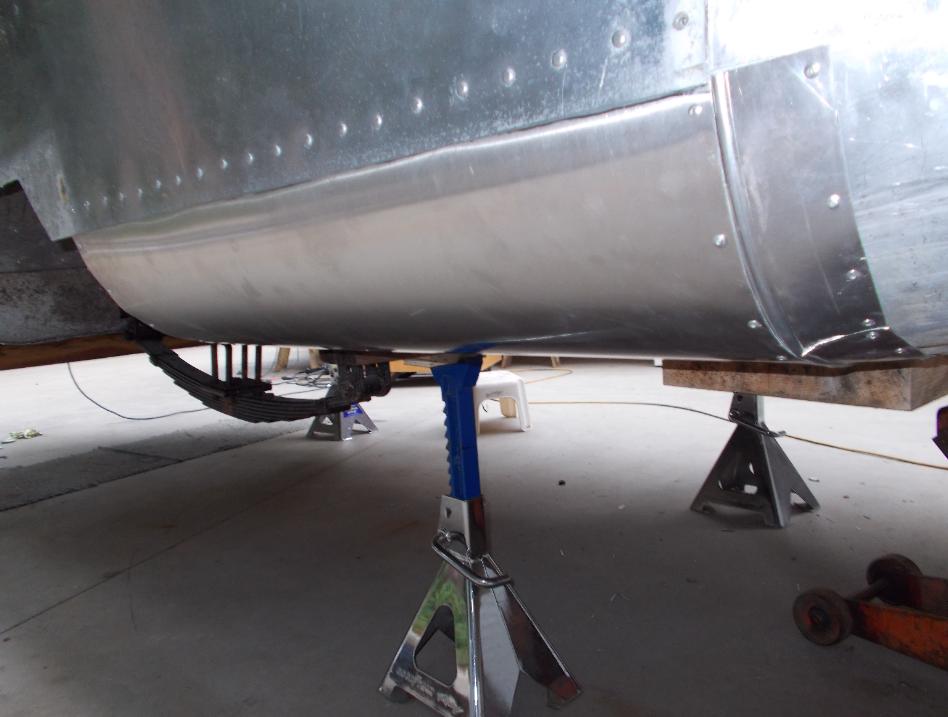
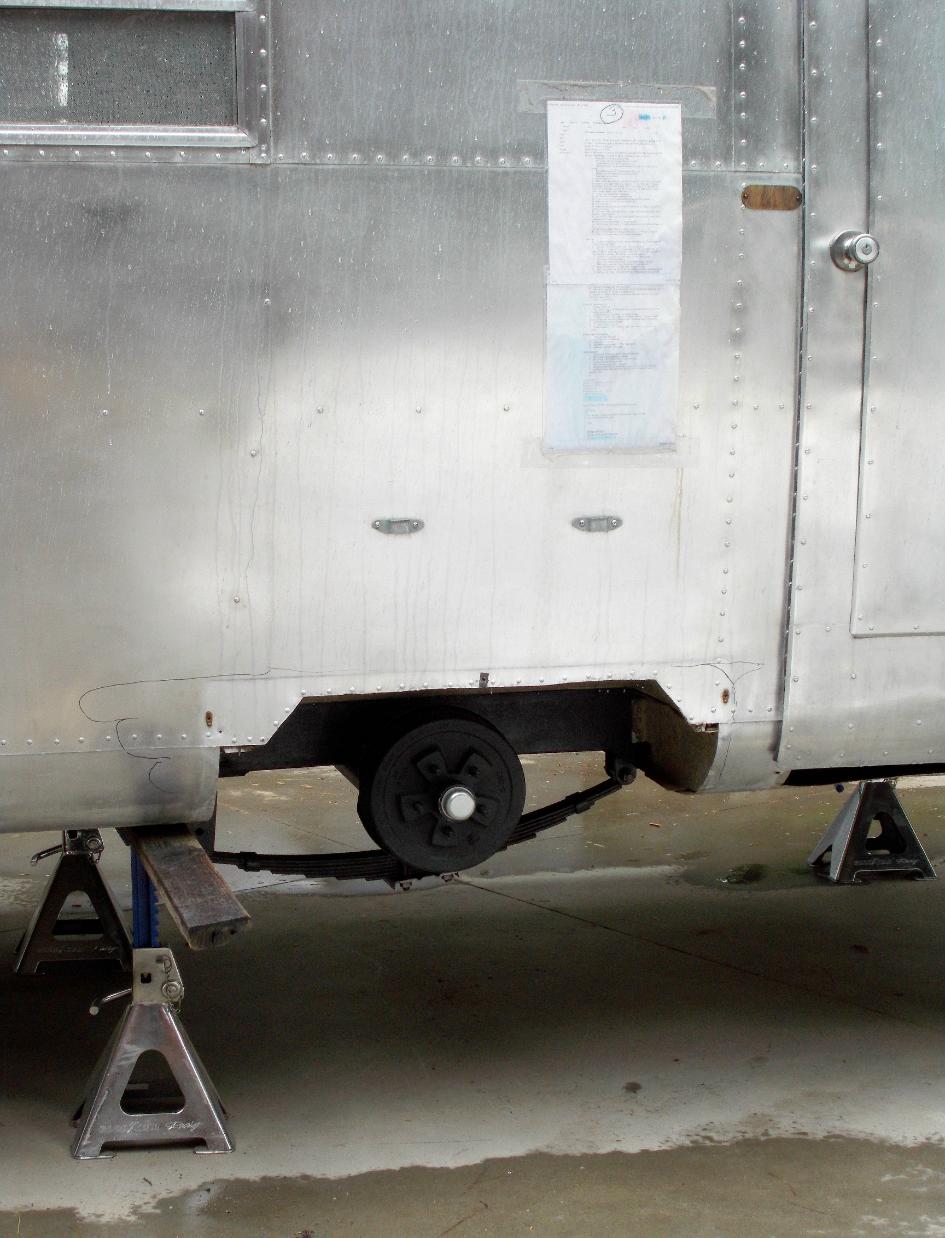
| Up on Stilts |
| Awaiting New Axle |
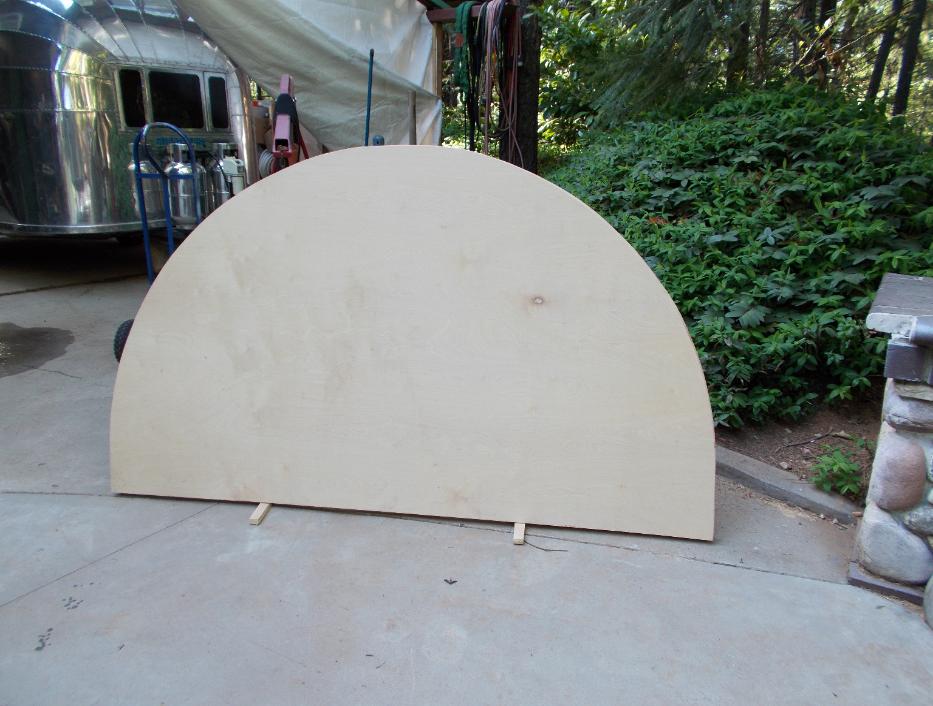
| End Pieces of the New Floor Ready for Installation |
| Front & Rear Trim Pieces Removed |
| Front & Rear Trim Pieces |
| Repairs |
| Repairs |
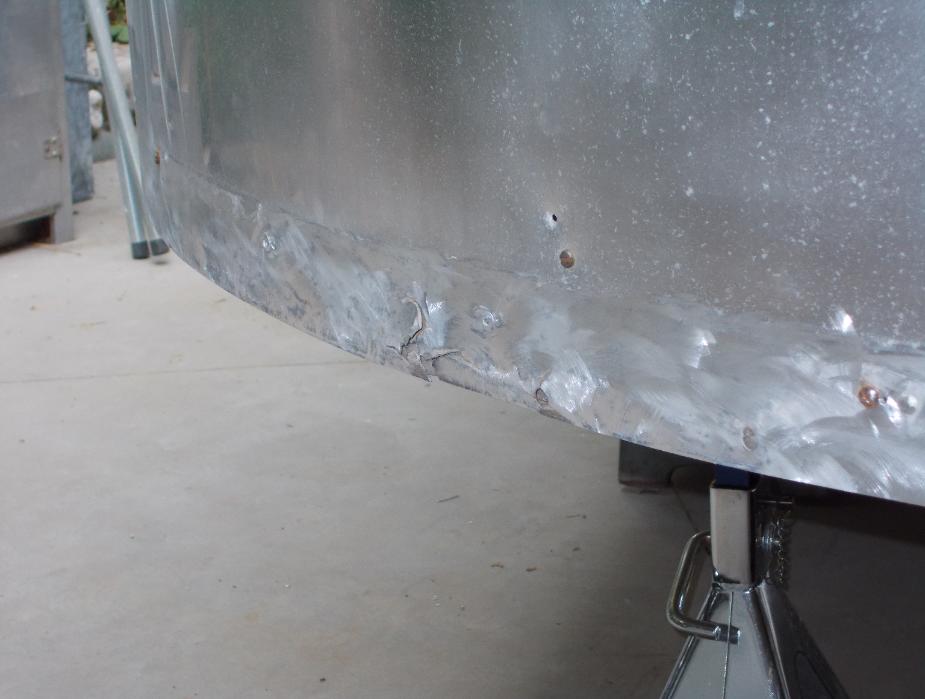
| Repairs |
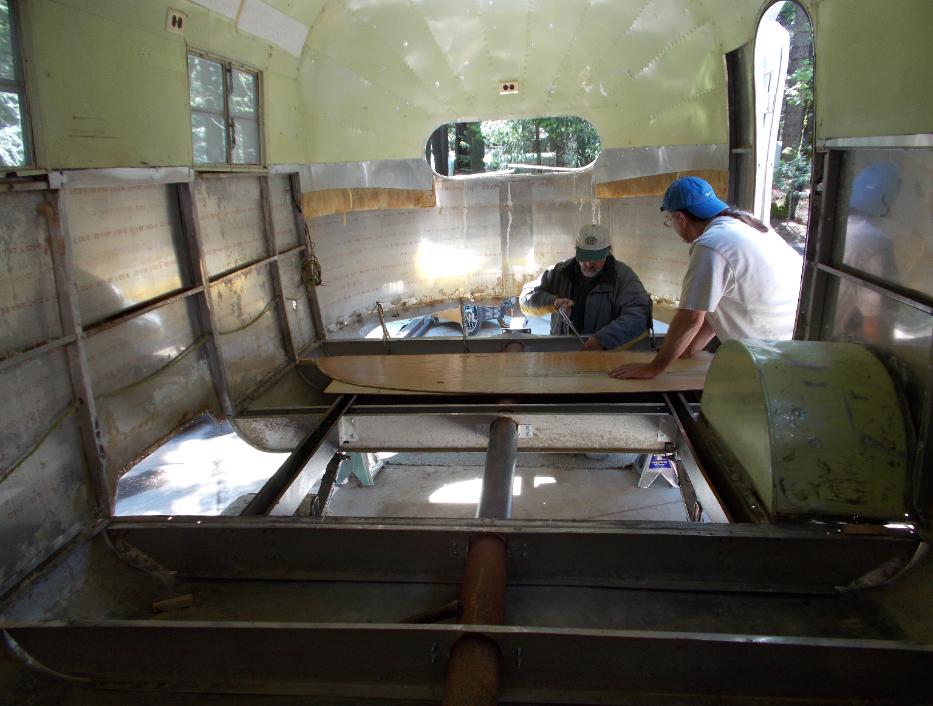
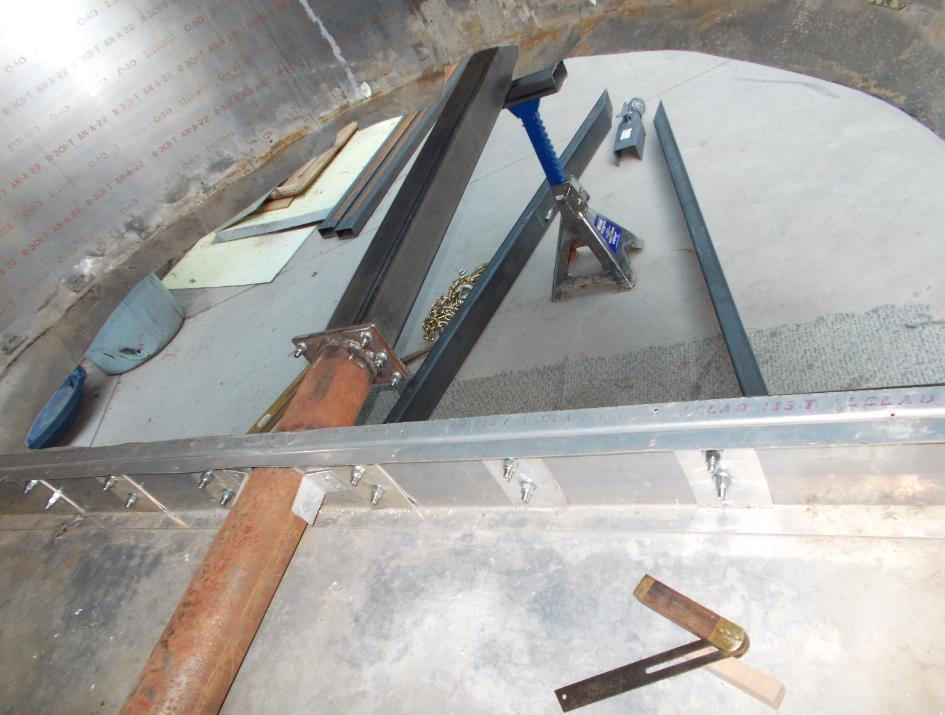
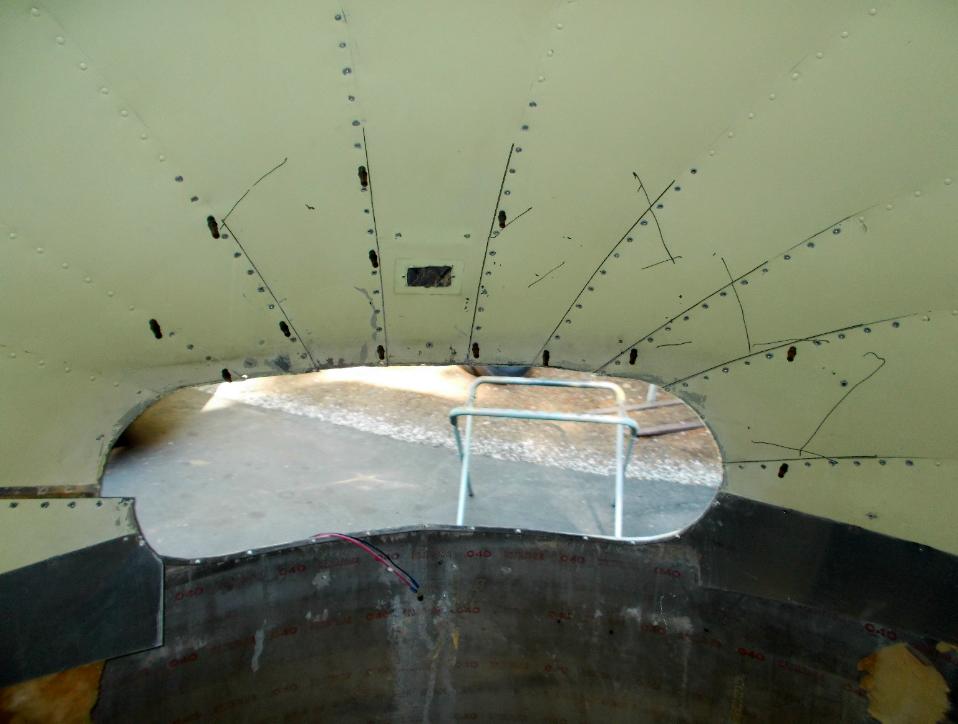
| Inside the Shell Strengthening Center Tube & Modifying the Tube |
| There's the Tube ~ Inside View |
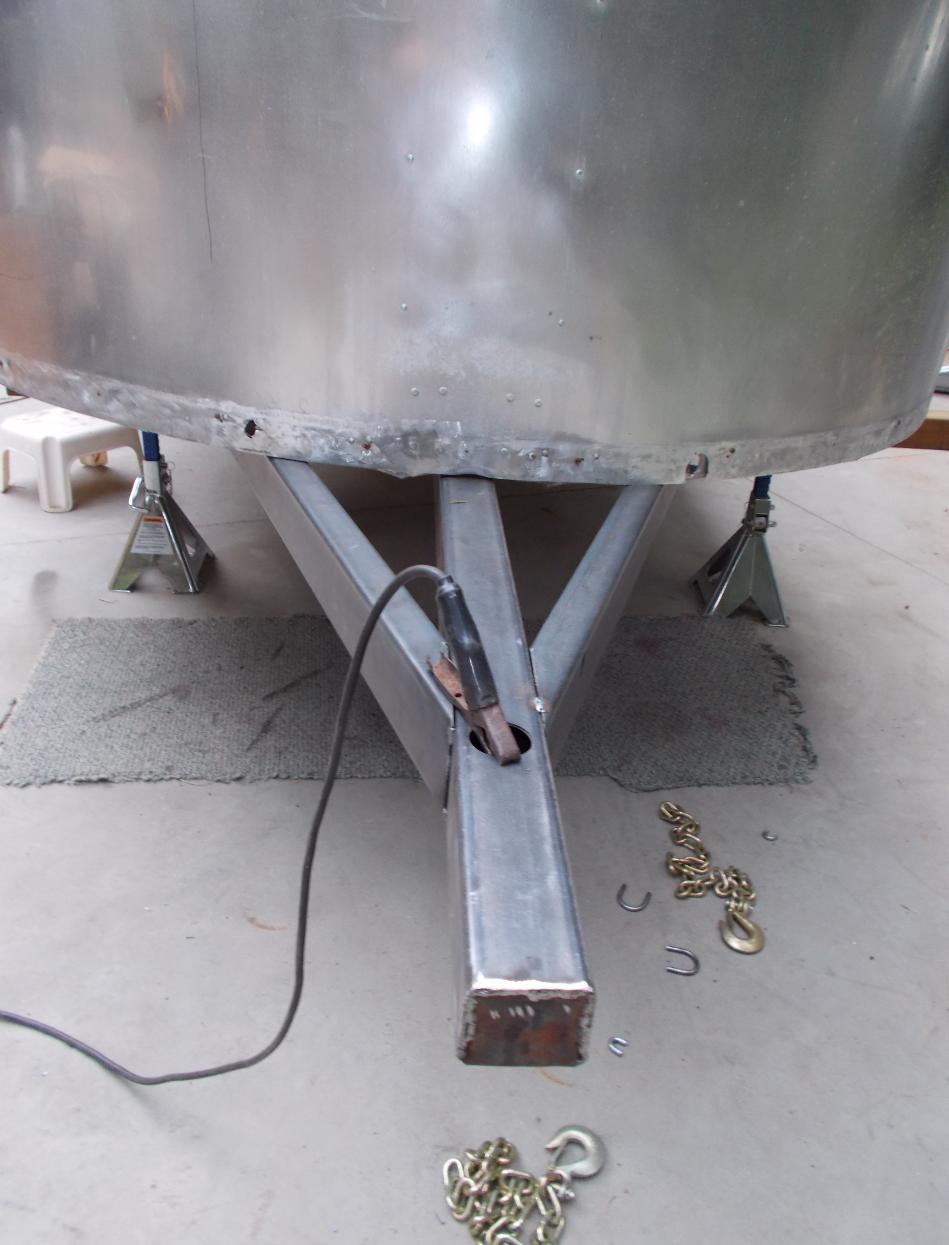
| Getting Ready to put the Hitch In |
| There's the Tube ~ Outside View |
| Not pretty yet but it will be! |
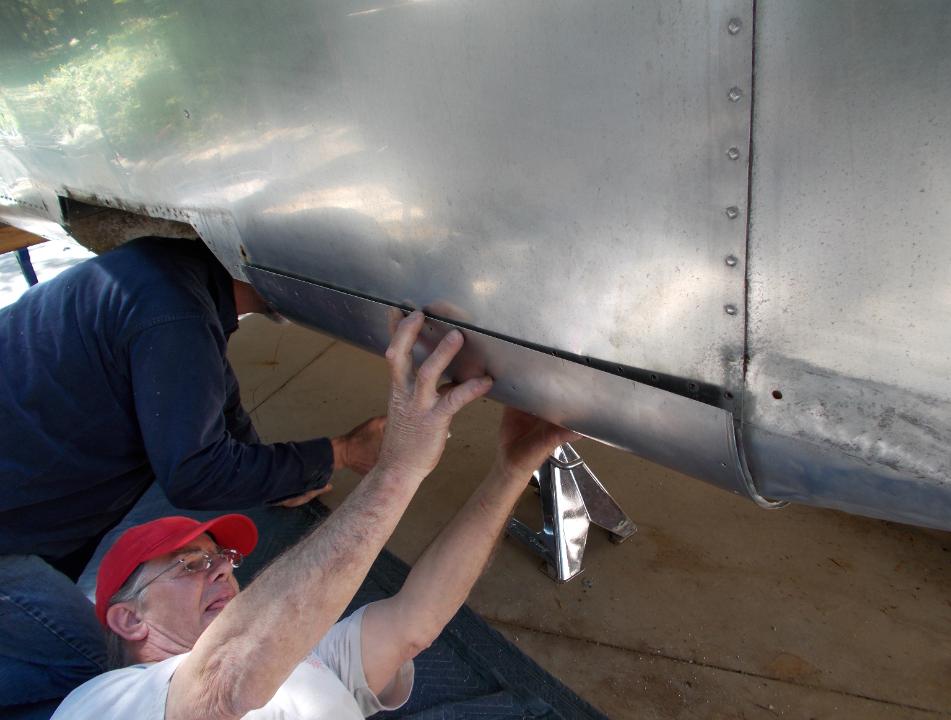
| Action! |
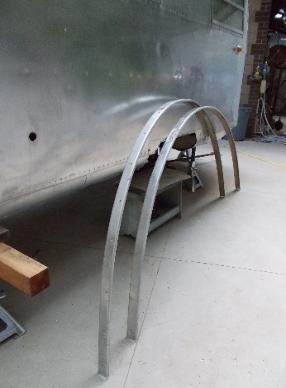
| Driver Side Quarter Panel Replacement # 1 |
| Driver Side Quarter Panel Replacement # 2 |

| Quarter Panels Need Replacing |

| Rear Frame Work Shown |
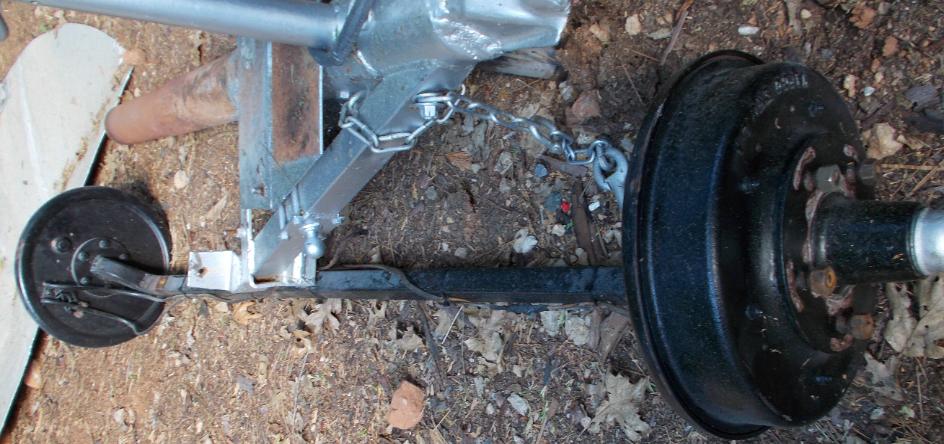
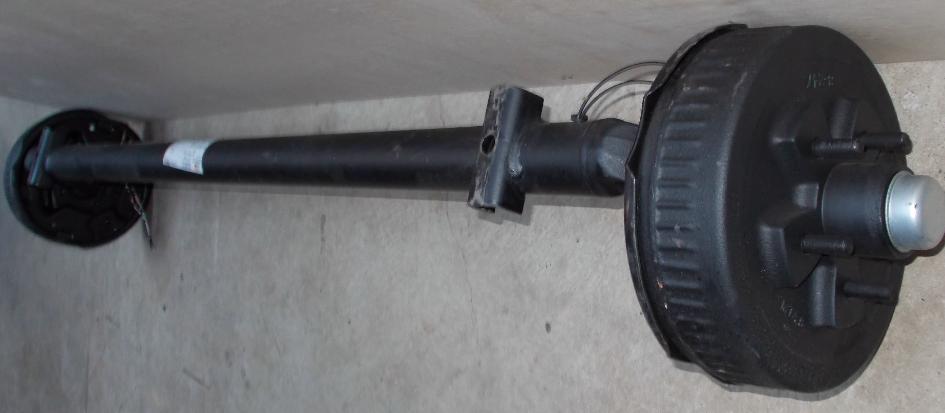
| Junk Pile ~ Old Hitch & Axle |
| New Axle is Here! |
| Axle Installed |
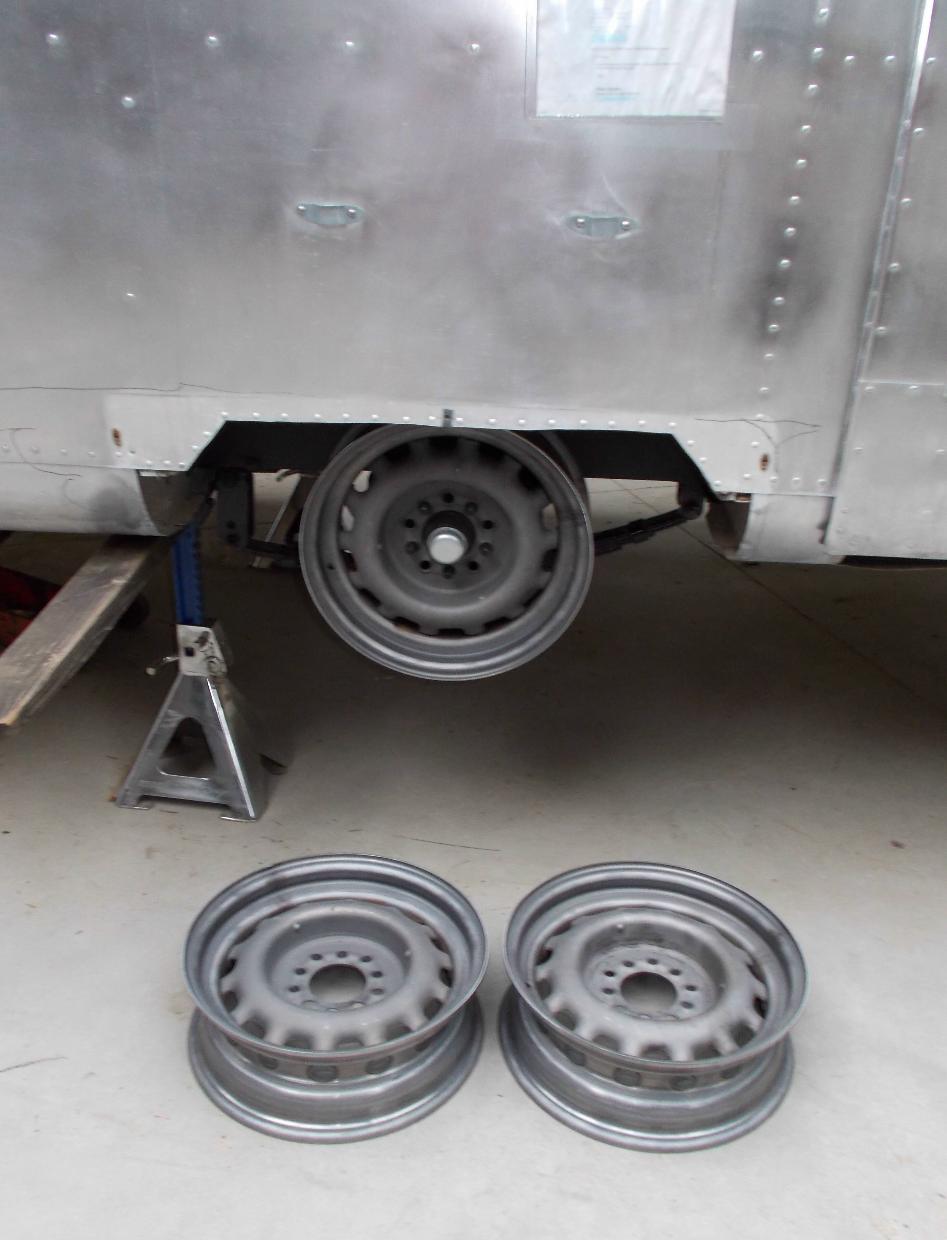
| Artilery Wheels Just Arrived |
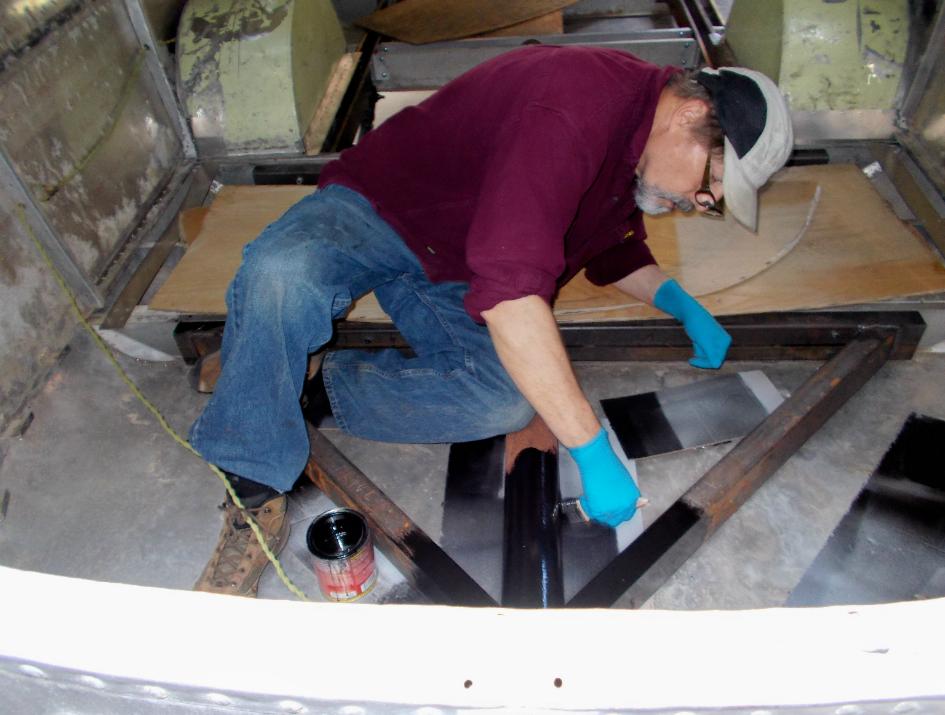
| POR 15 on The Frame |
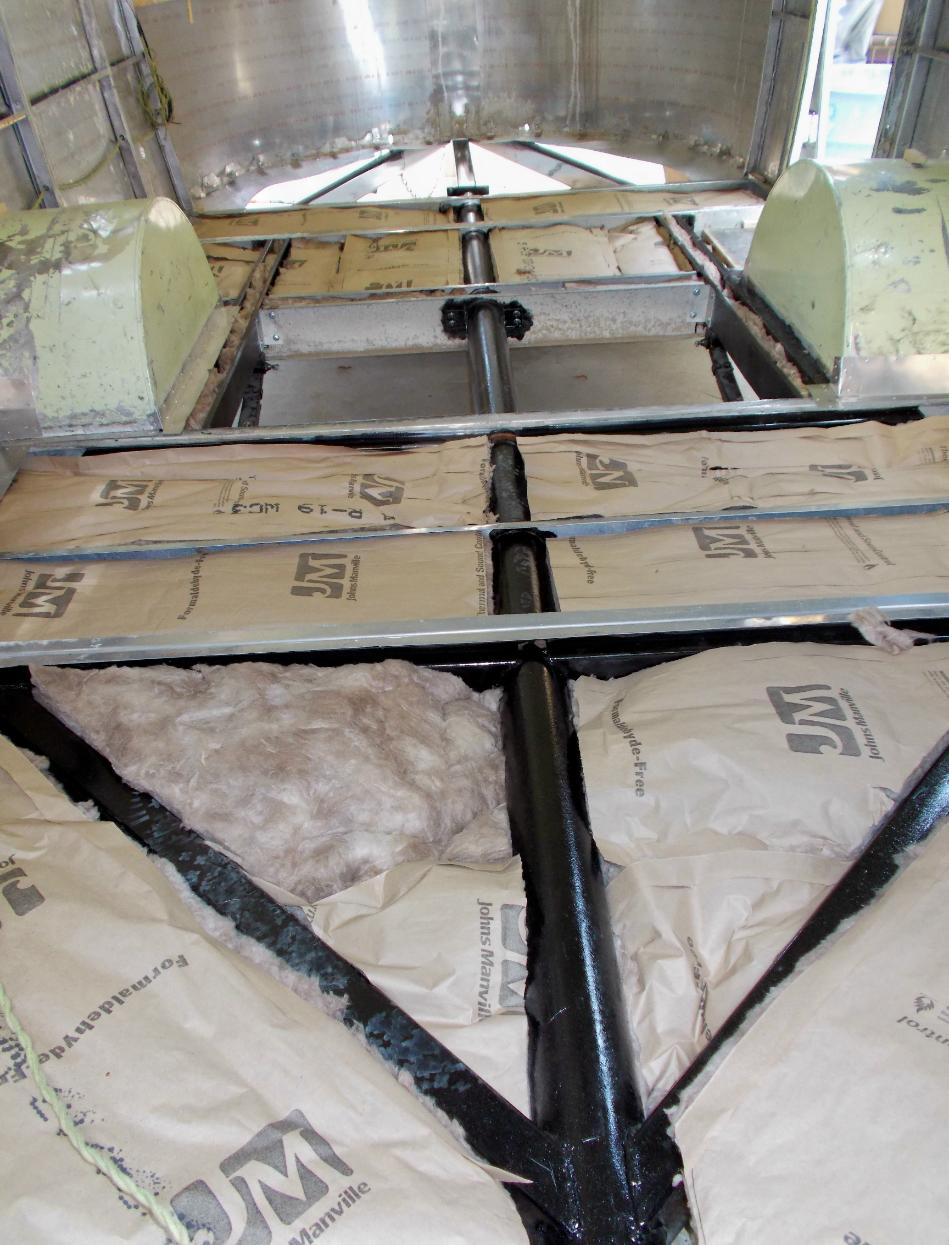
| R11 Insulation |
| Got the Floor In |
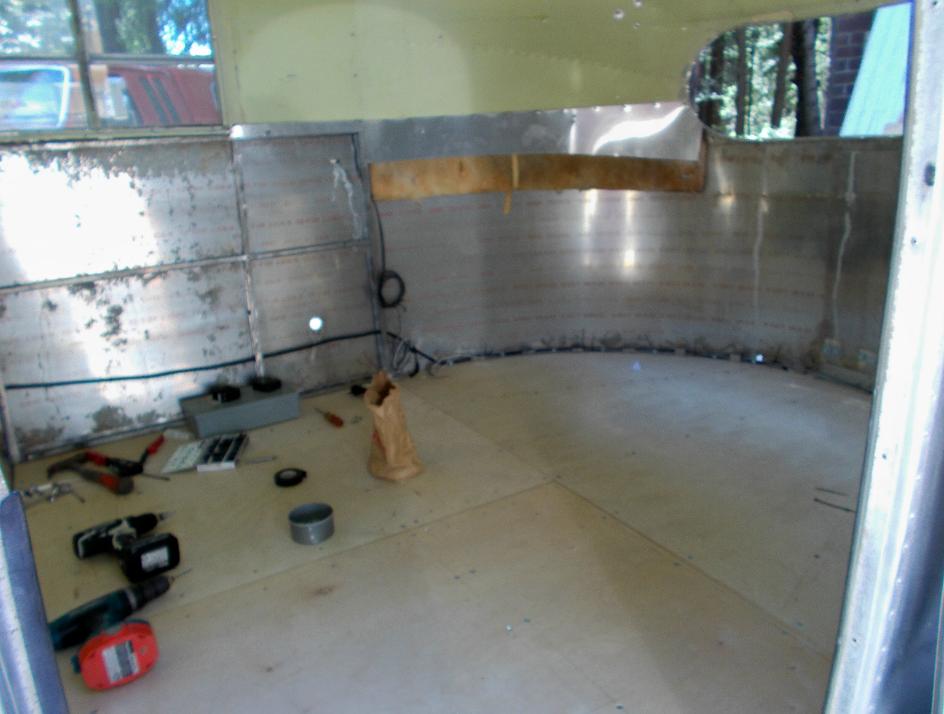
| Starting on the Electrical |
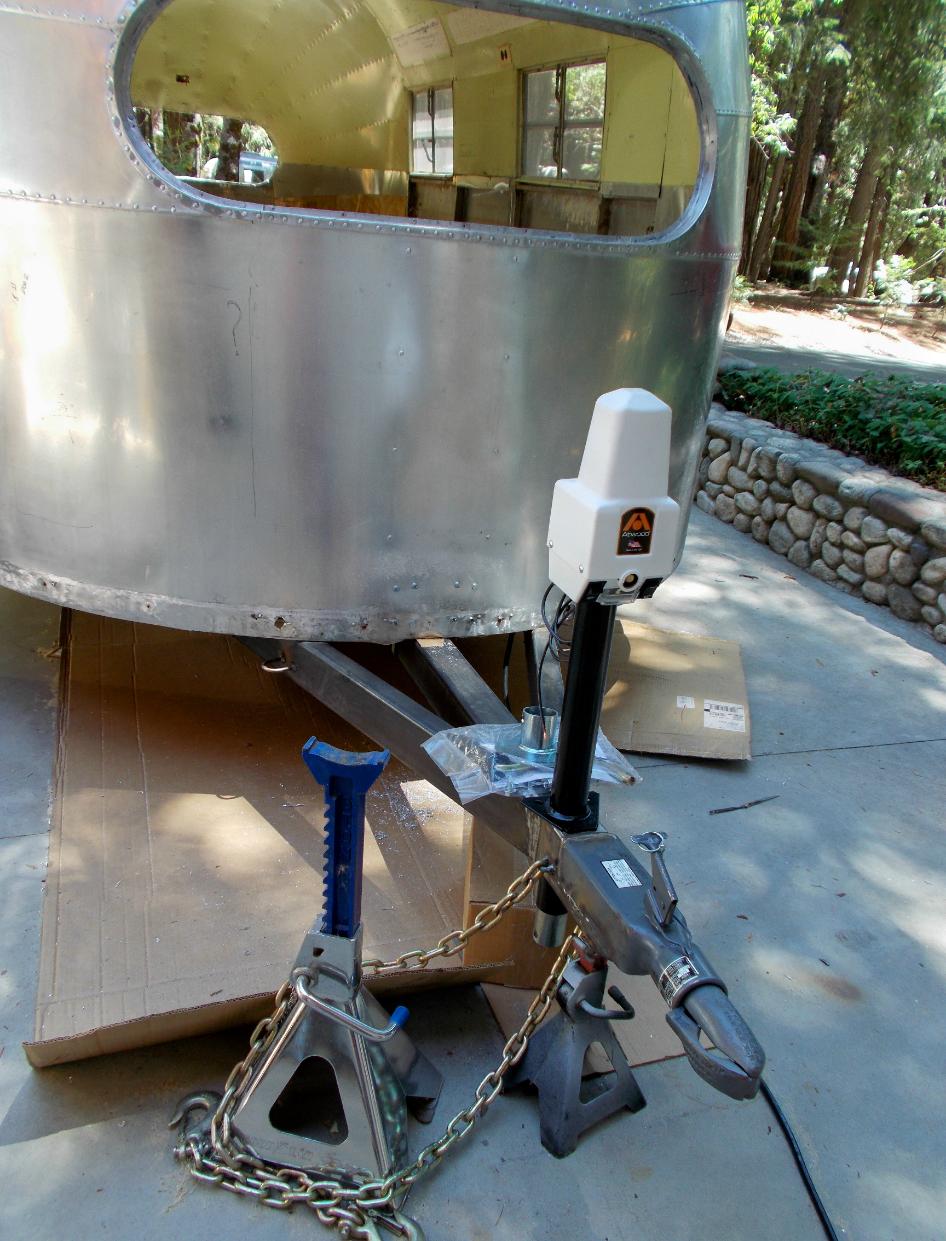
| Tongue & Jack Work going on too |
| Tongue & Jack Work Complete |
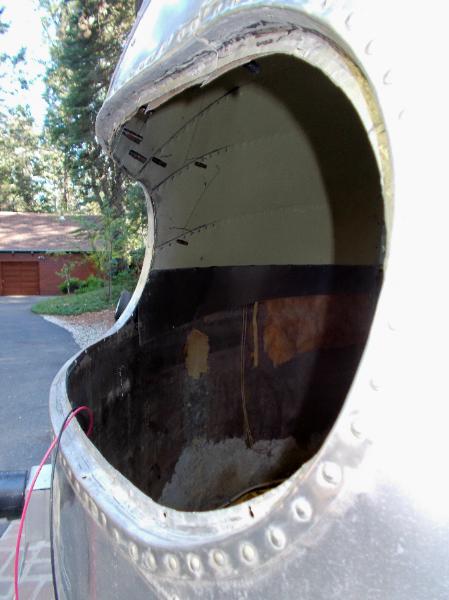
| Drill Out and Remove Front Panels |
| Panels used as Patterns to cut the new Aluminum |

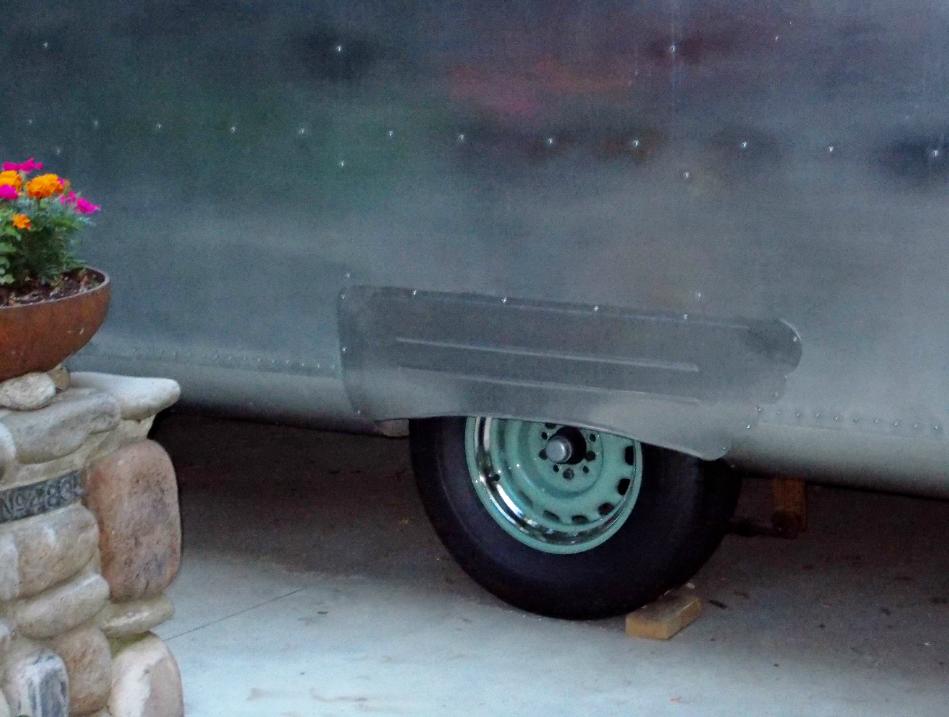
| Pre Powder Coated Artillery Wheels for Rust Protection (Then Painted) + Customer Designed Fender Skirts |
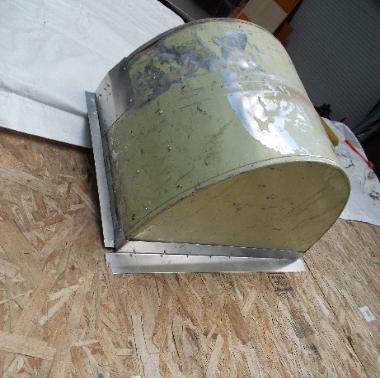
| New Fan Vent |

| Old Front Panels used as pattern for the New Panels |
| Side by Side Comparison of Dents vs No Dents |
| Close-Up of the New Panels |

| Trailer Interior Rear Panels Removed & Reinstalled Needed Access to Fix of BB Gun Mark Blemishes Polishing Coming Soon ~ Got to Have those Out! |

| Windows all Cut Out & Ready to Go In. Just Waiting for the Window Trimto be Delivered |
| Front & Rear Windows Ready for Plexiglass |

| Good Looking Step |
| Oh What a Difference 'A Whole Lot of Polishing Will Do" |
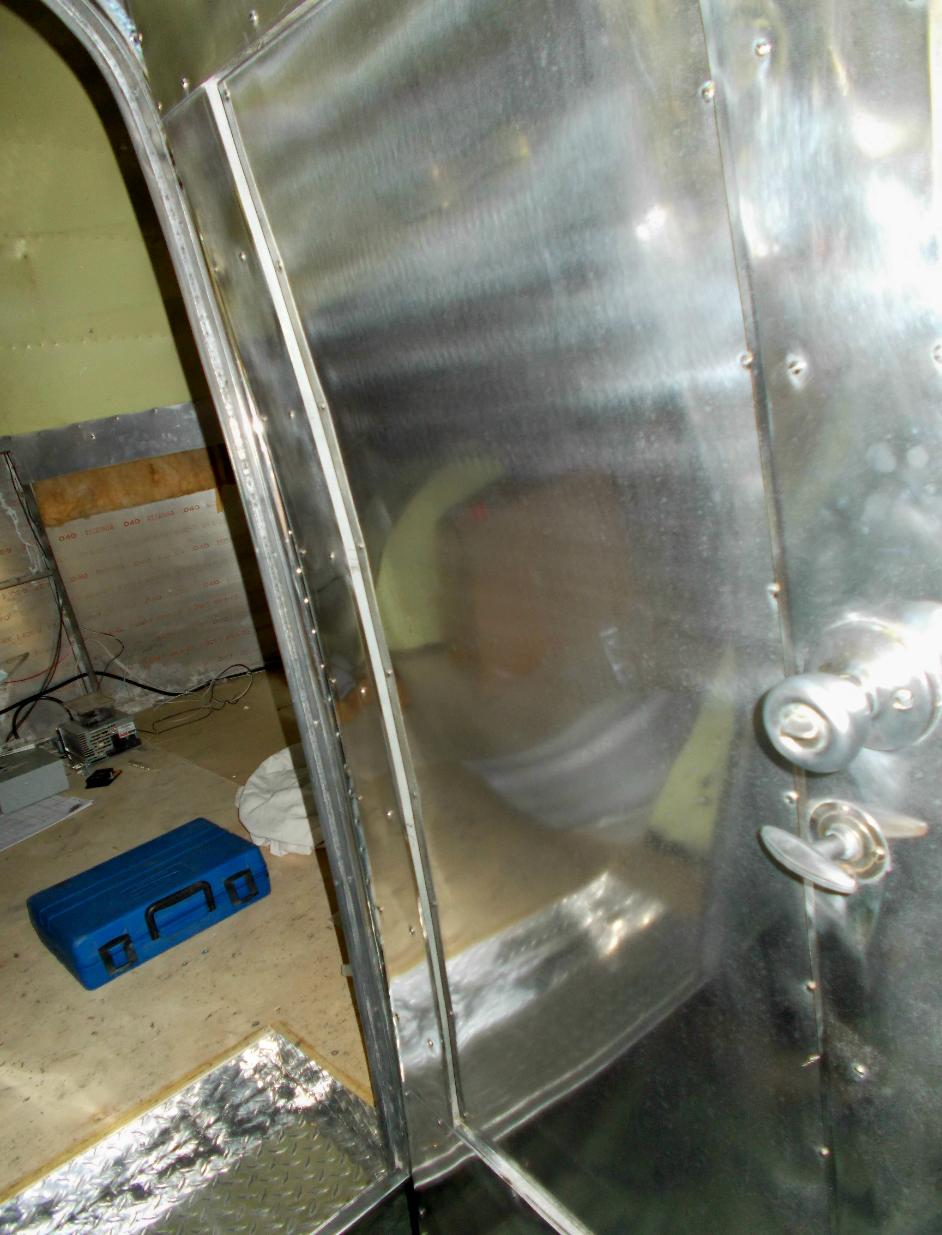
| Polishing the Inside of the Entry Door Cleaned it Up |
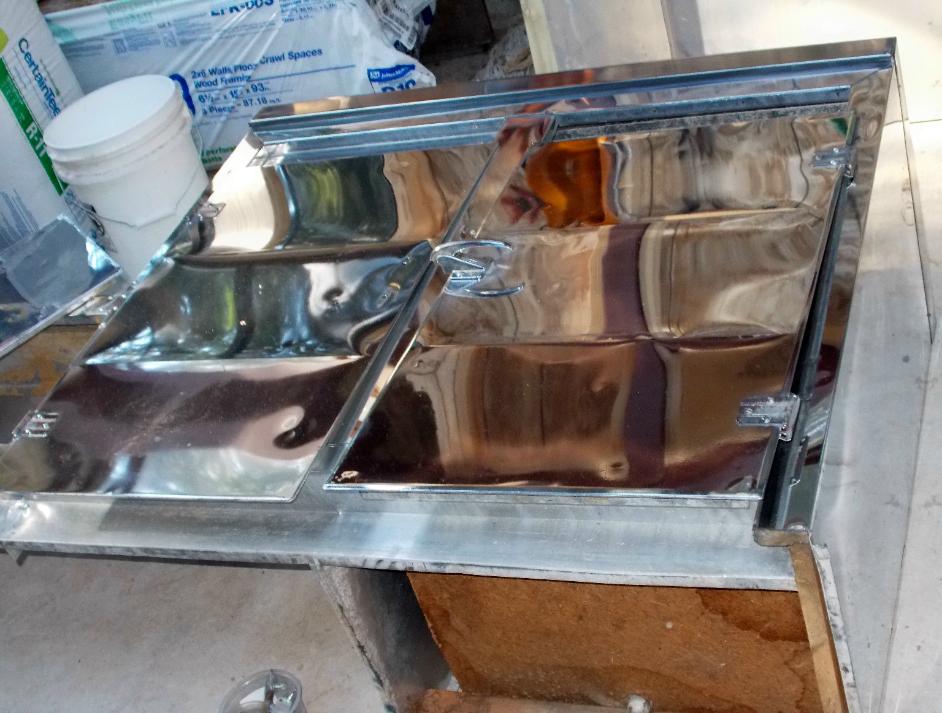
| Original Interior Cabinet Really Polished up Nice |

| Another View of the Cabinet |
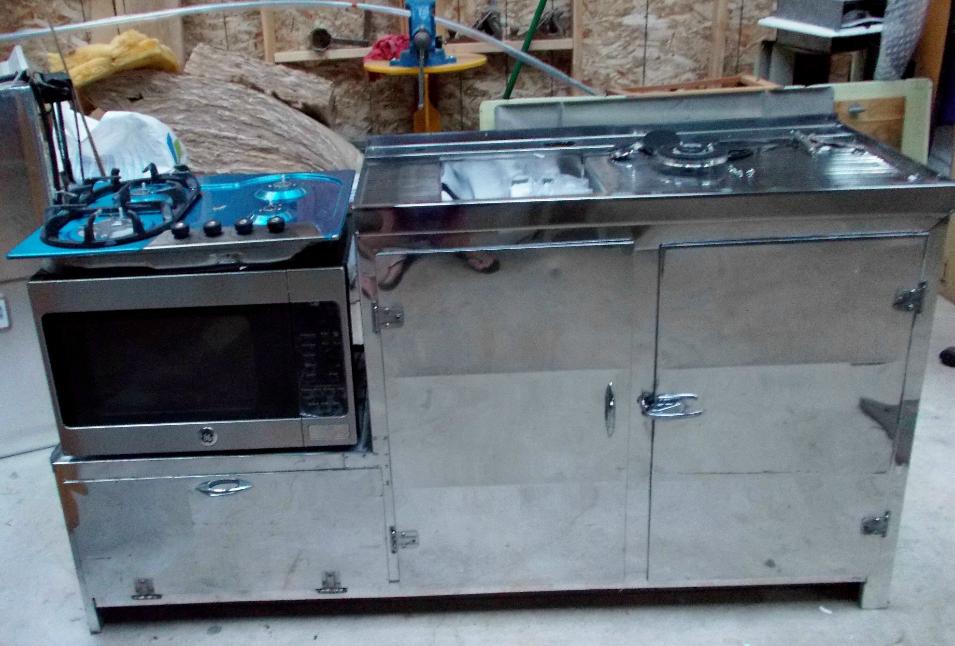
| Once Installed I'd Say the Cook Top & Convection Oven is Just about a Perfect fit! |
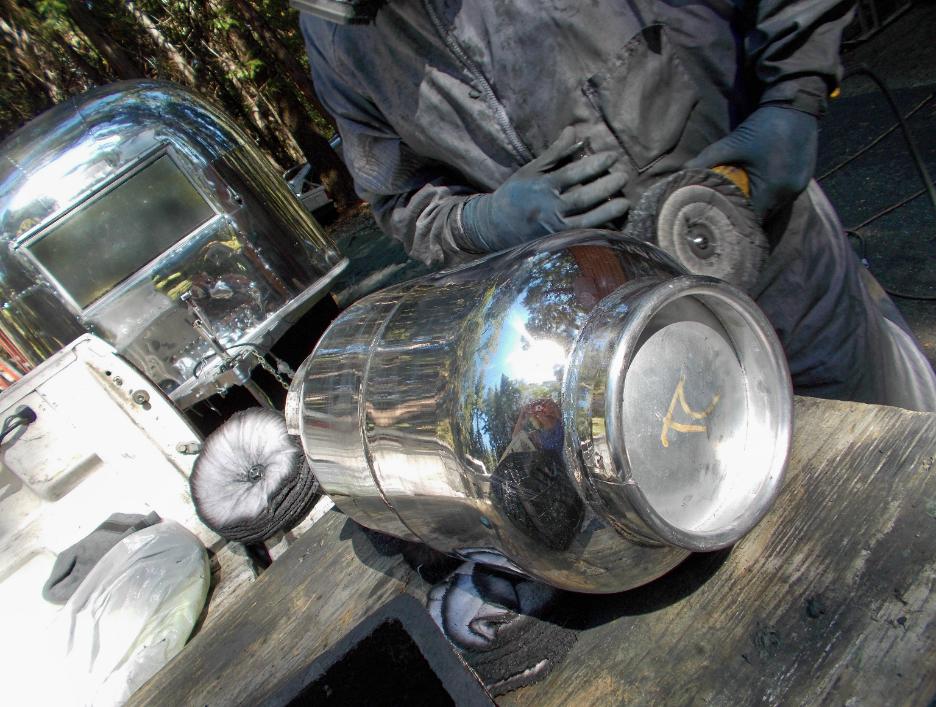
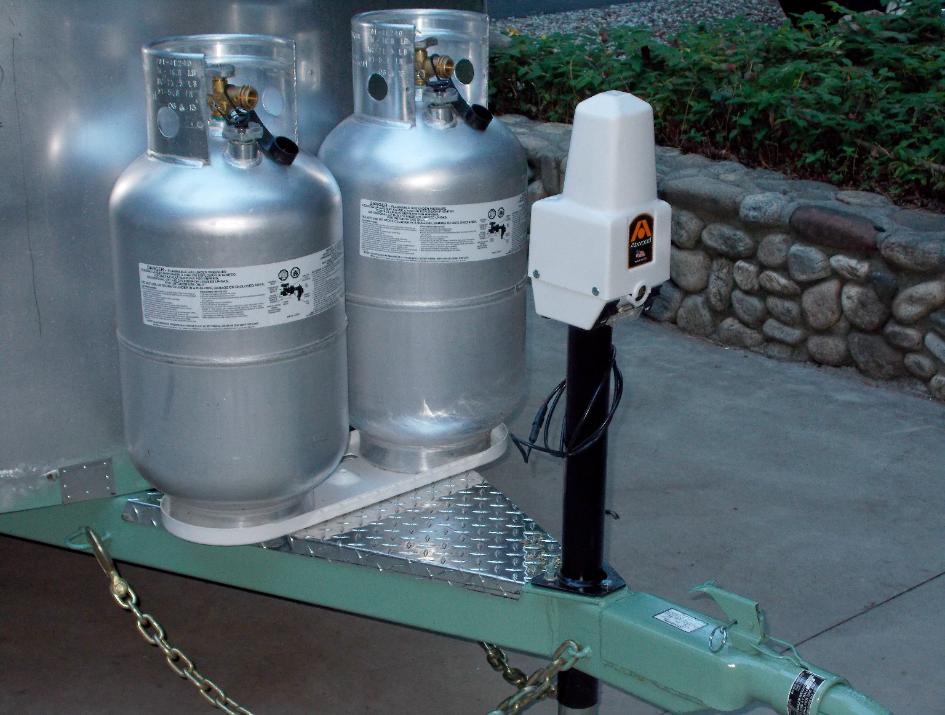
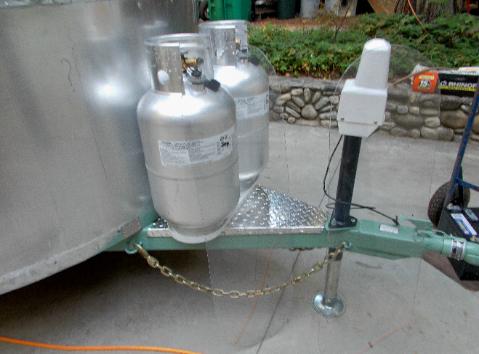
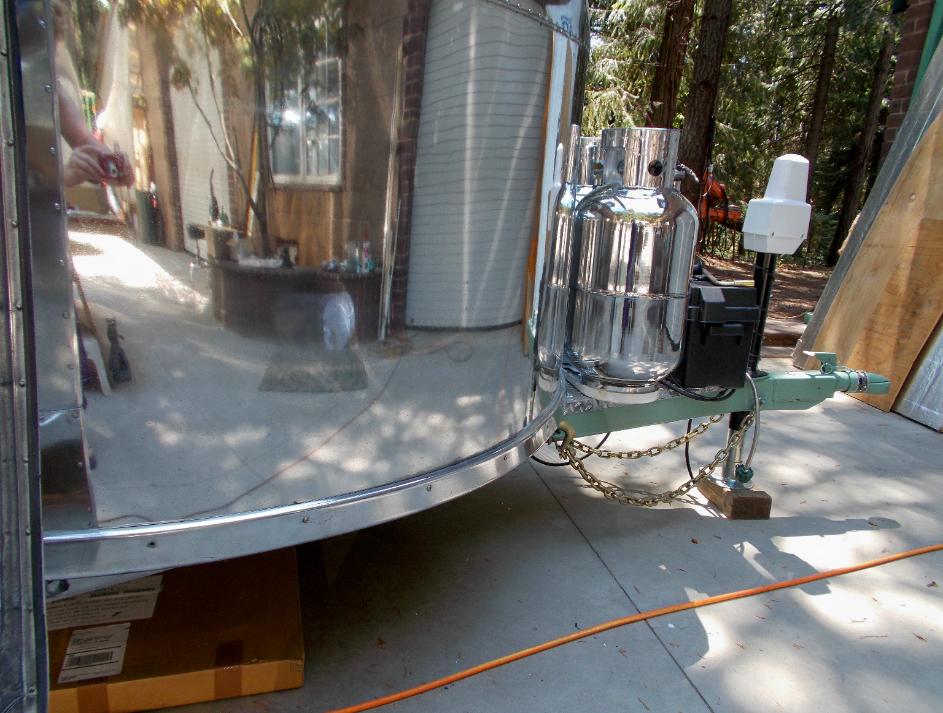
| That's Tony Polishing the Propane Bottles |
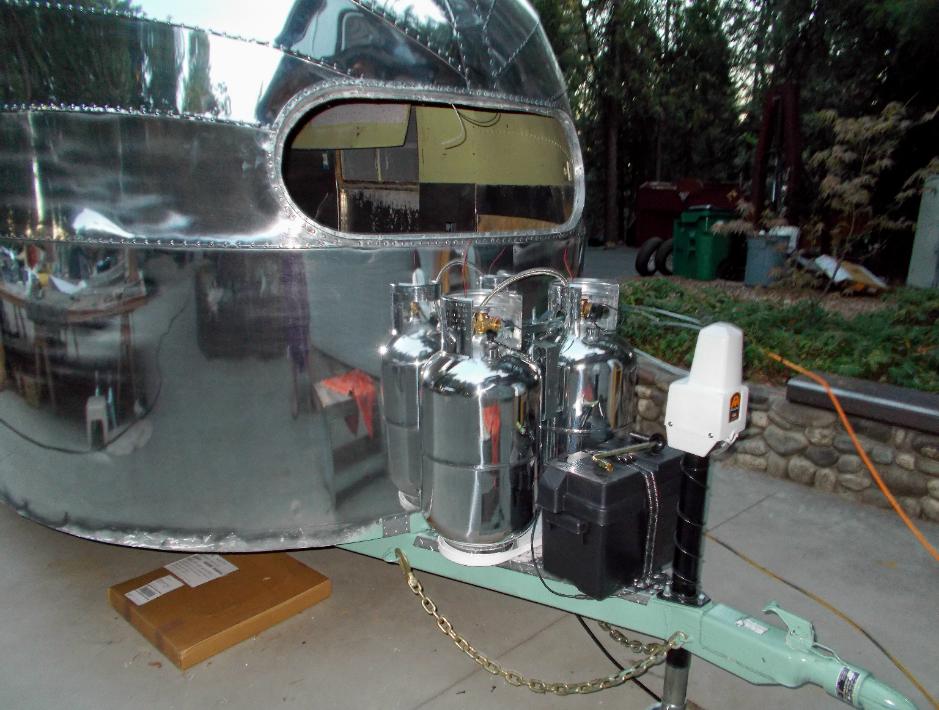
| and ... They Sure are Pretty! |
| Electrical Work Under Way - That's an Outside Electrical Outlet |
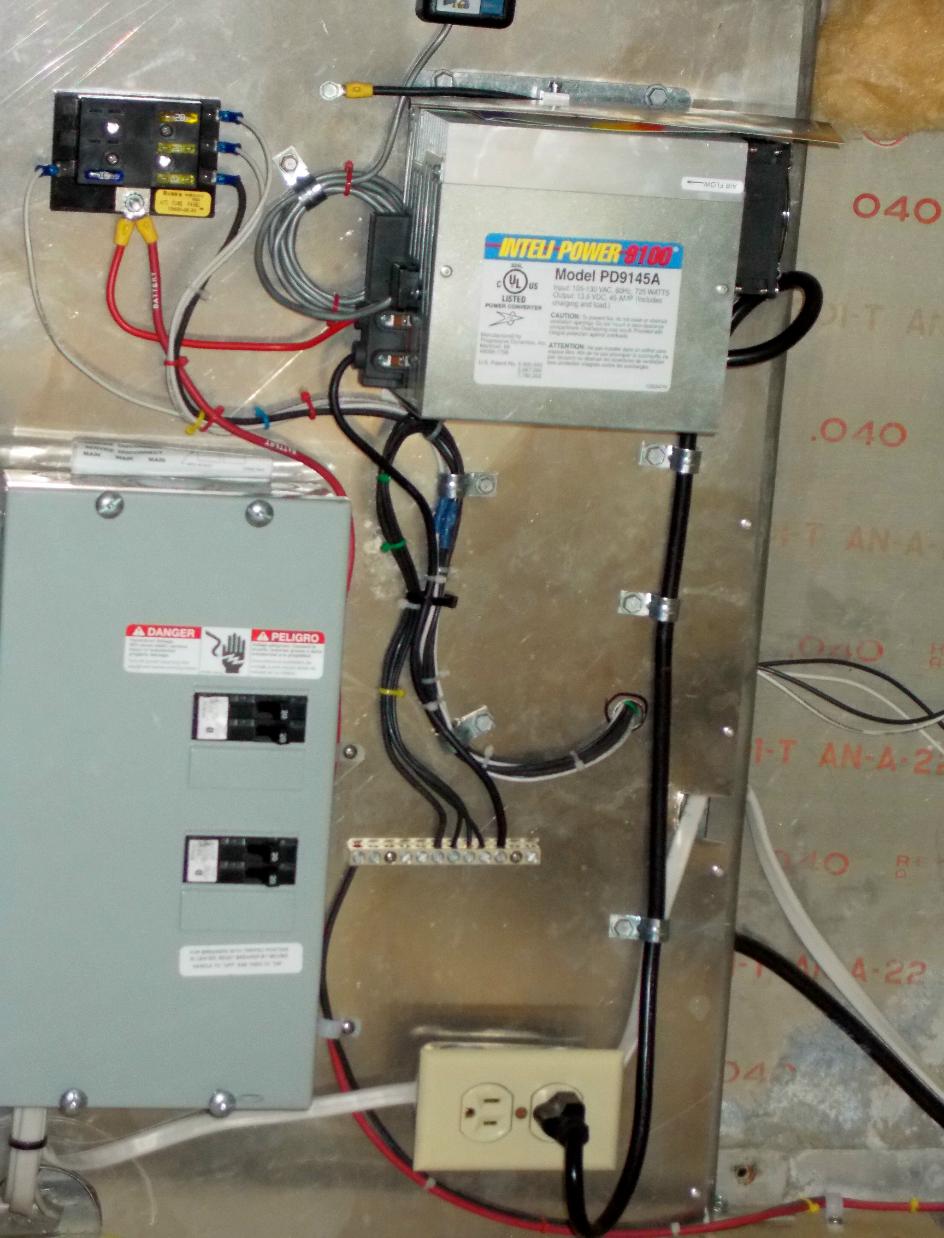
| Electrical Panel |
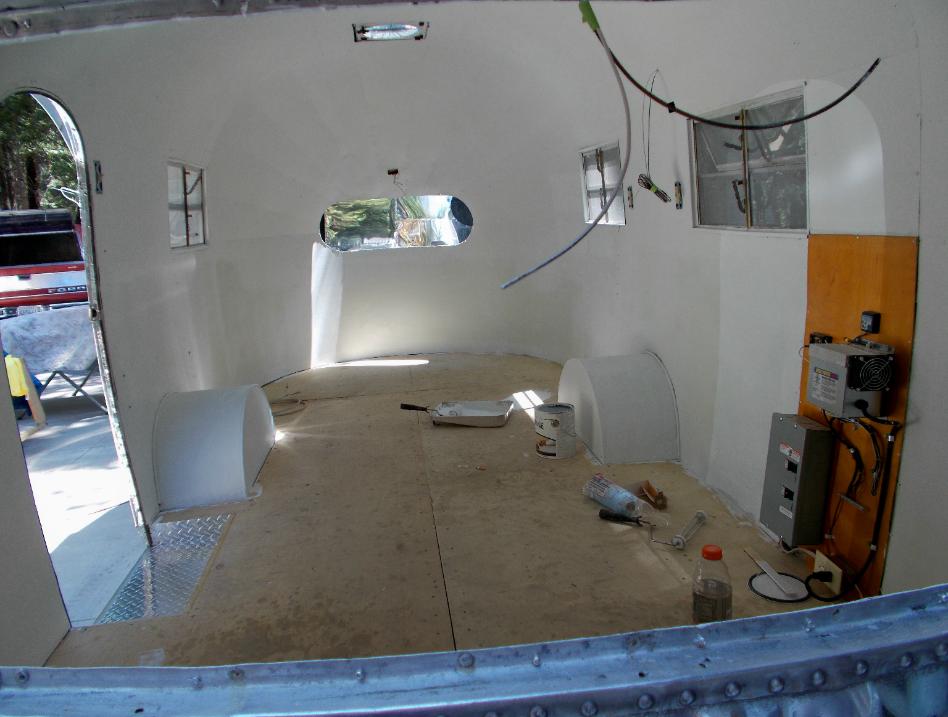
| Wood Behind Electrical Panel, Insulation, Replaced Inside Skin, TSP Wash & Scrub Down & Primered |
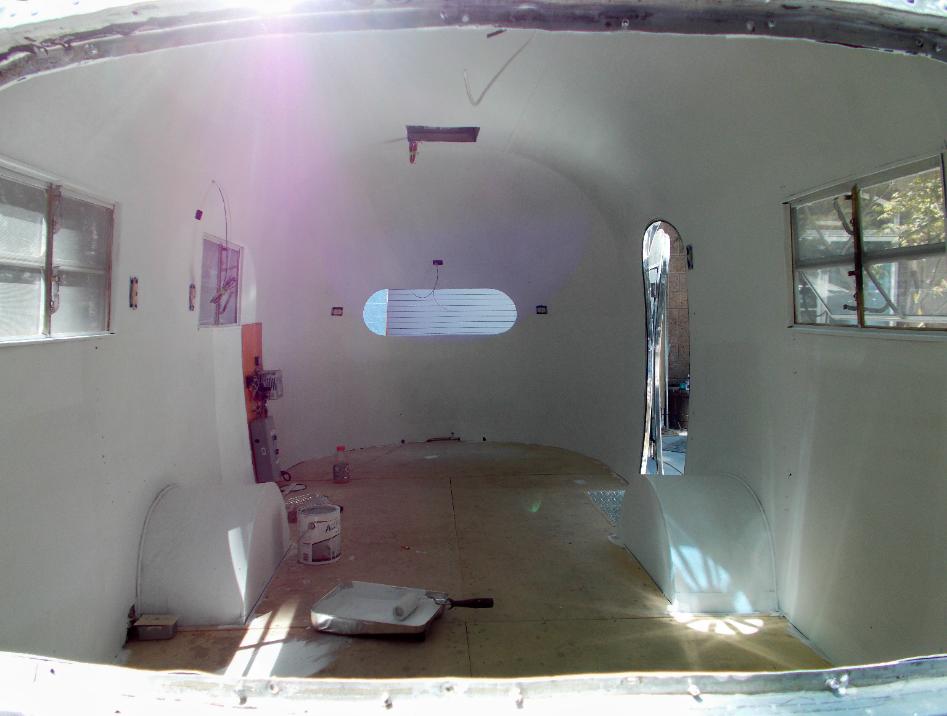
| Photo Taken Through Rear Window Clean Canvas! |
| Front Trim Installed |
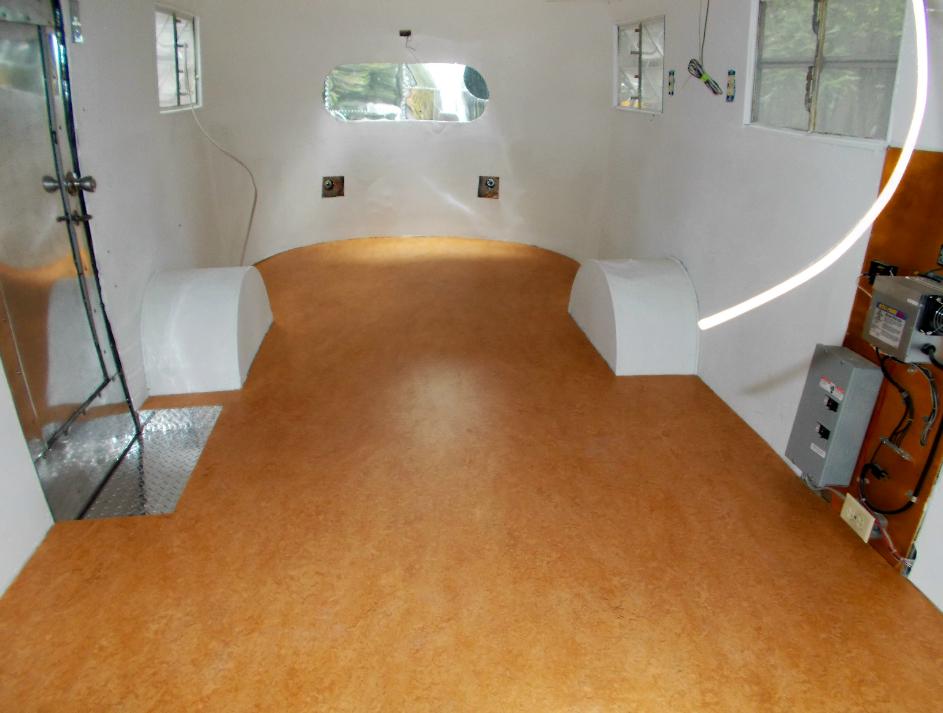
| Marmoleum Installed |

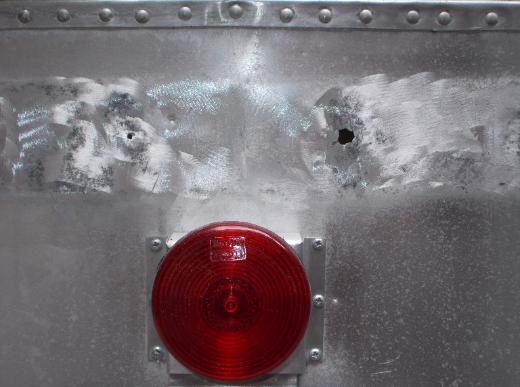
| Custom Fabricated Tail Lights |
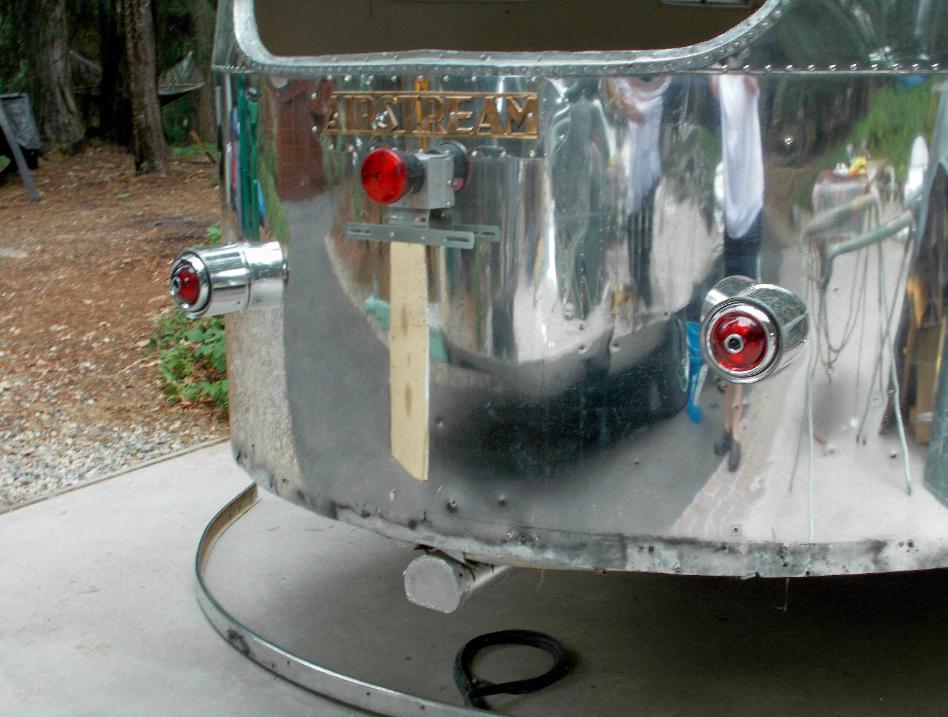
| Full View of the Tail Lights |
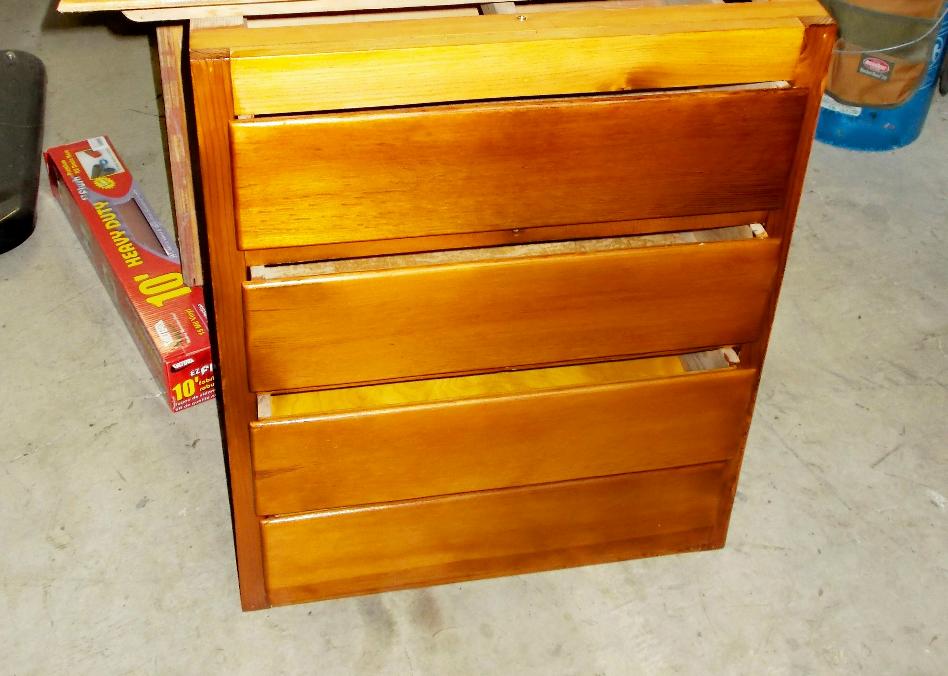
| Original Cabinets Rebuilt & Restored |