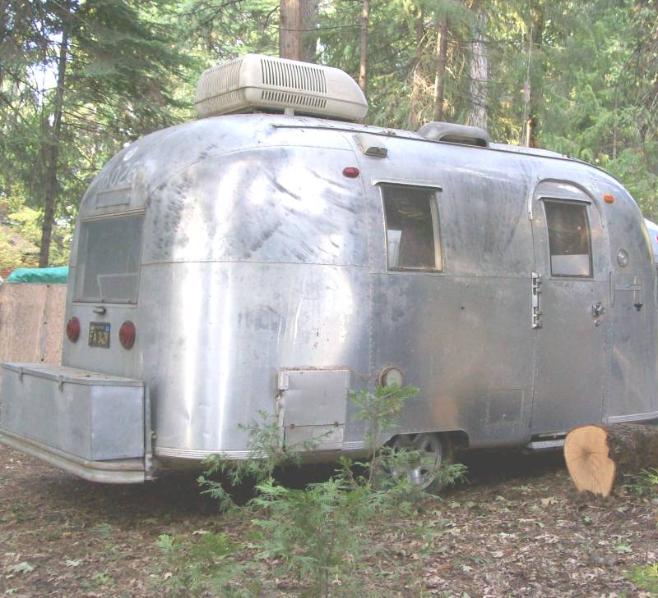
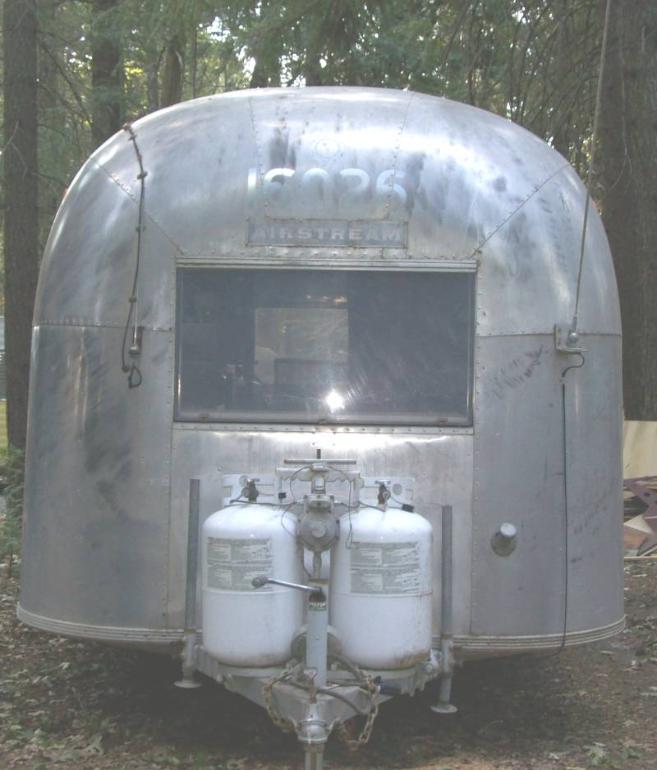
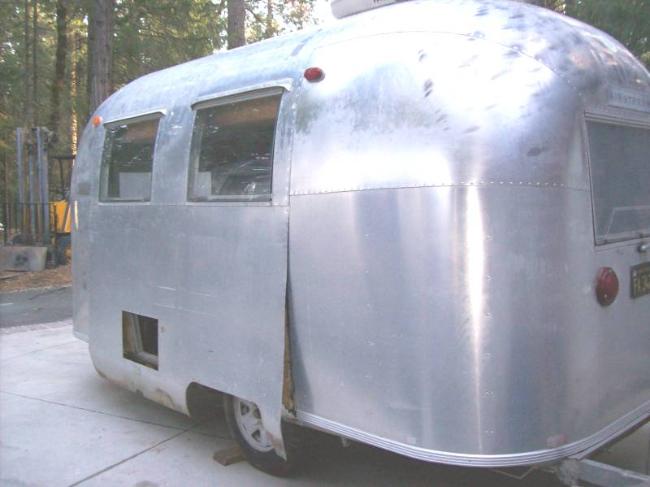
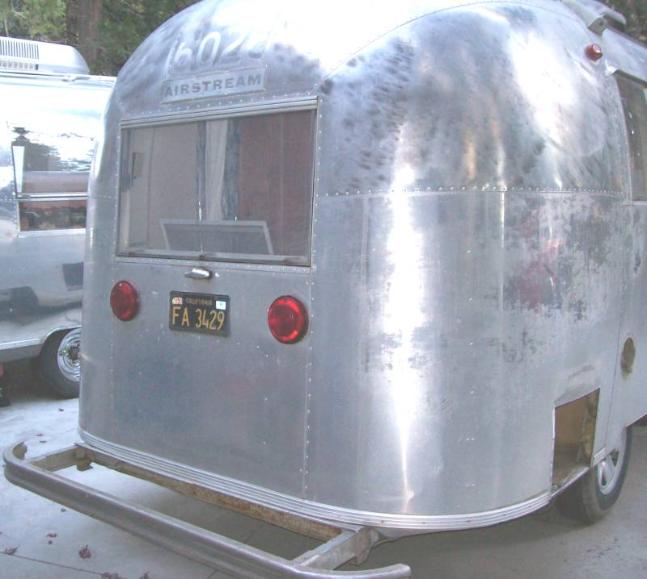
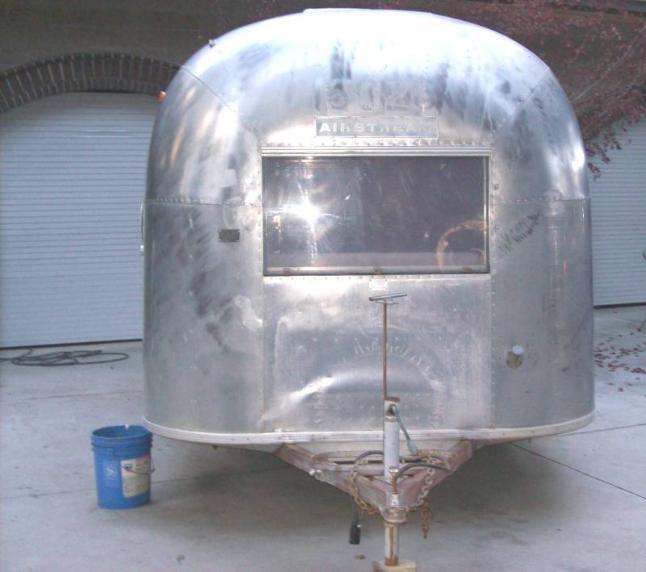
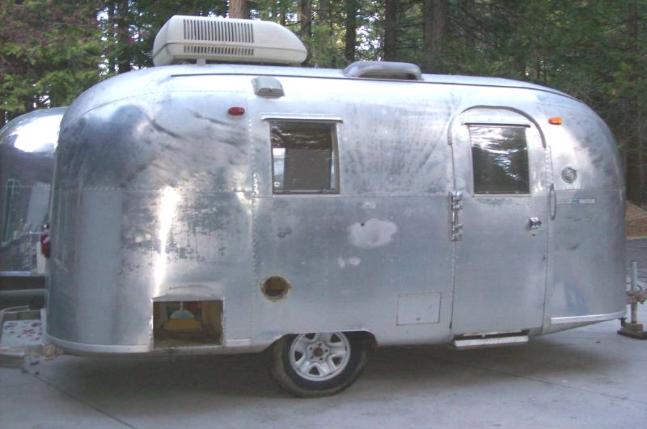
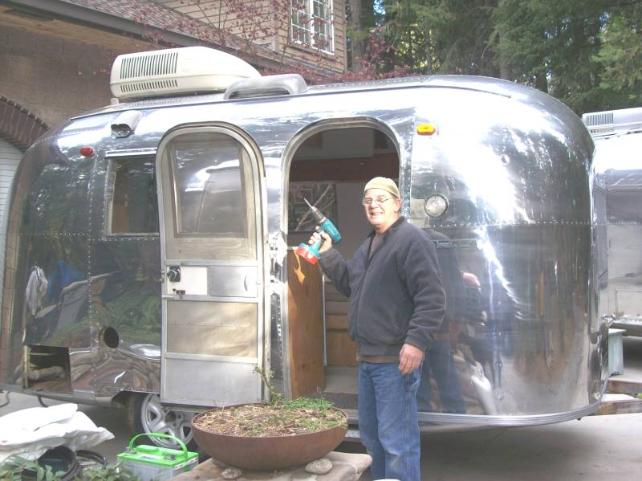
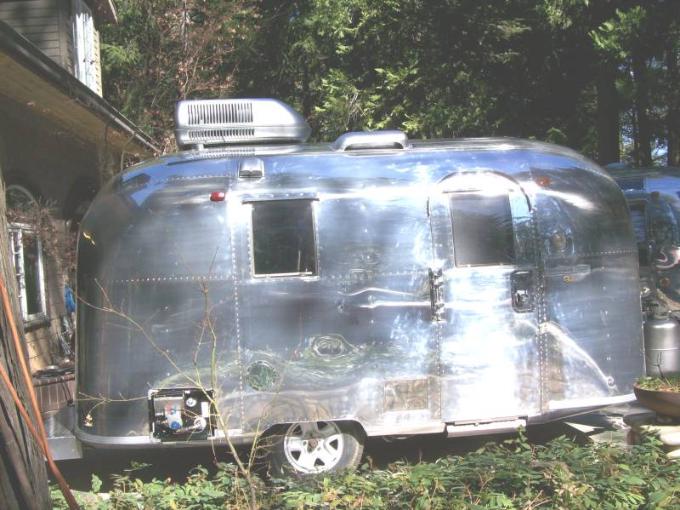
Exterior Before Restoration Pictures
|
Nicole & Jeff
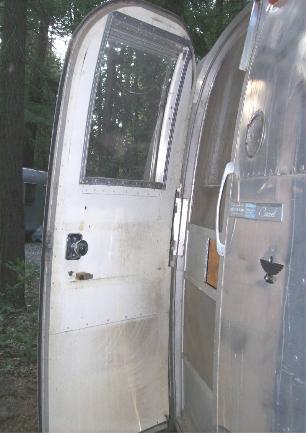
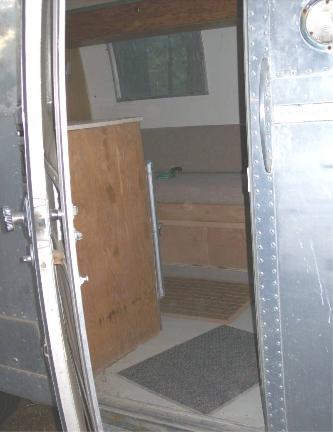
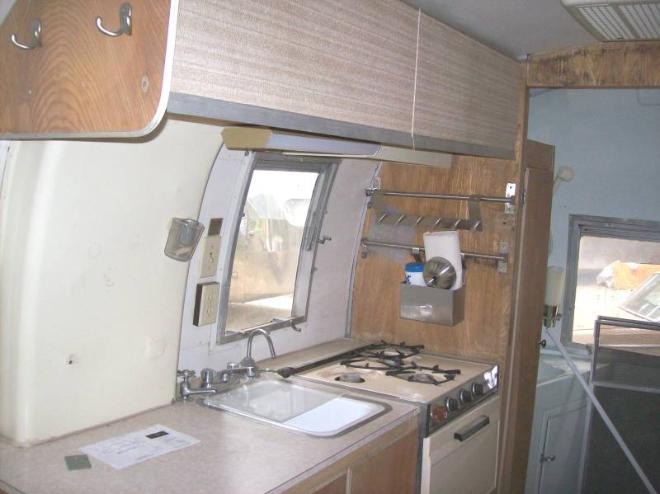
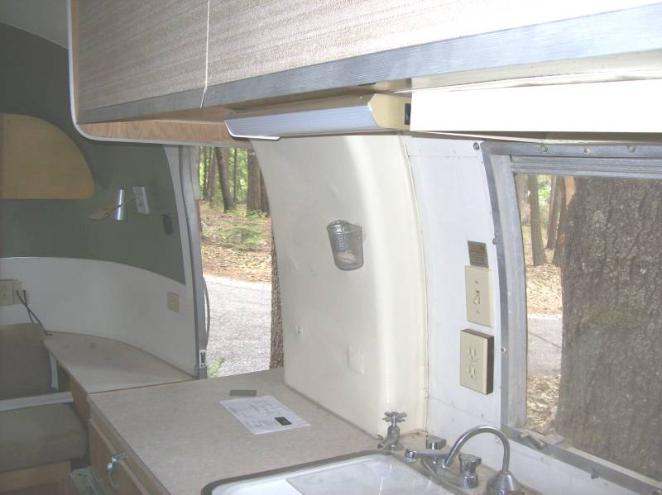
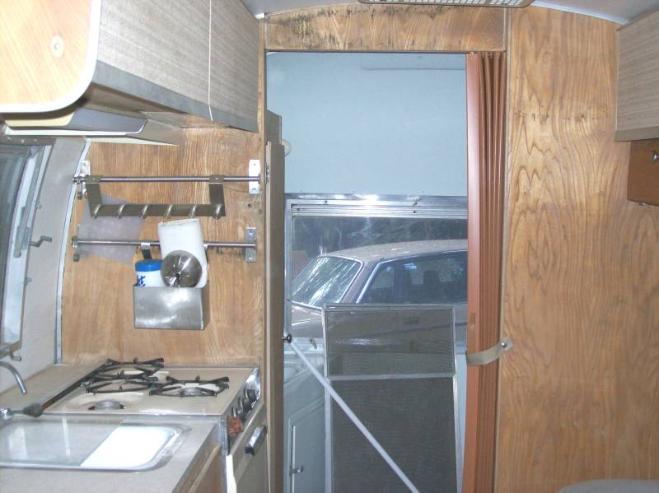
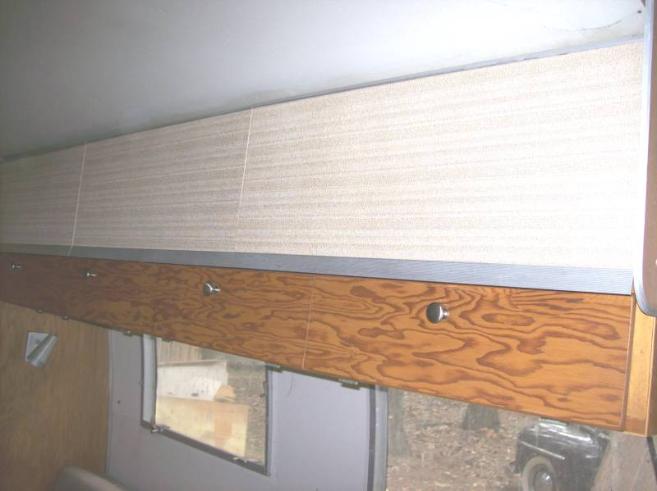
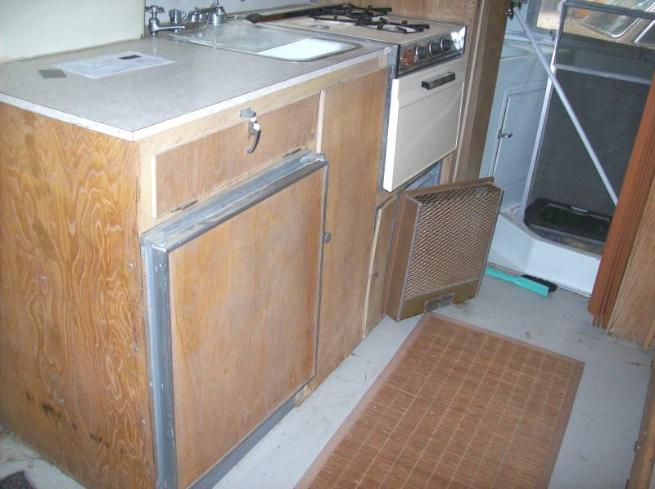
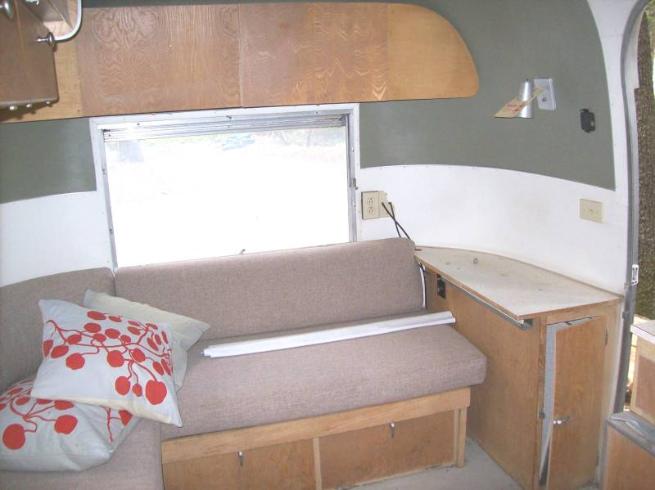
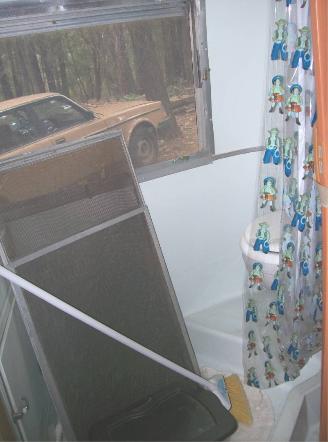
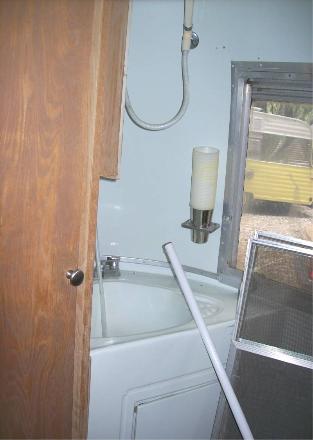
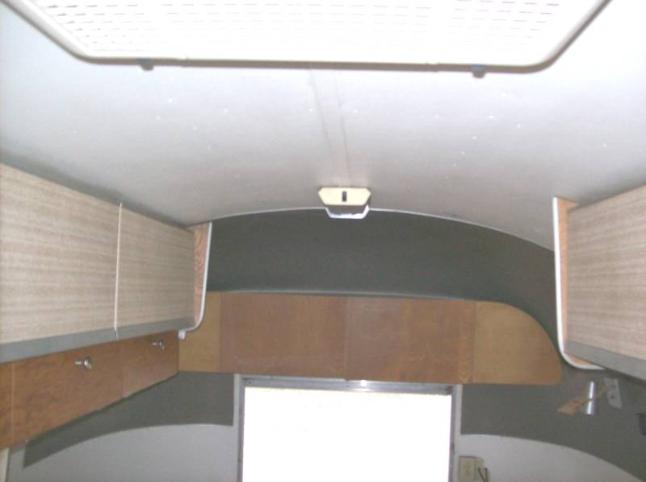
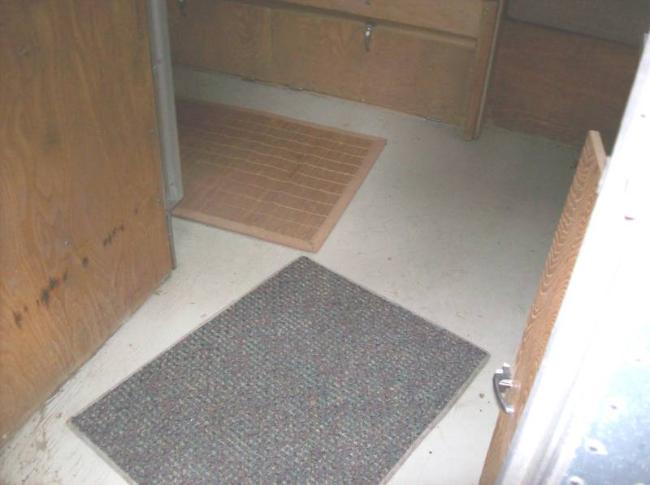
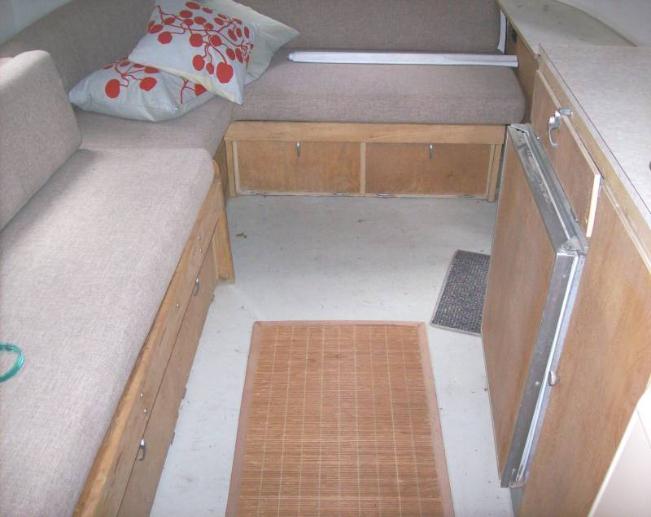
Interior Before Restoration Pictures
|
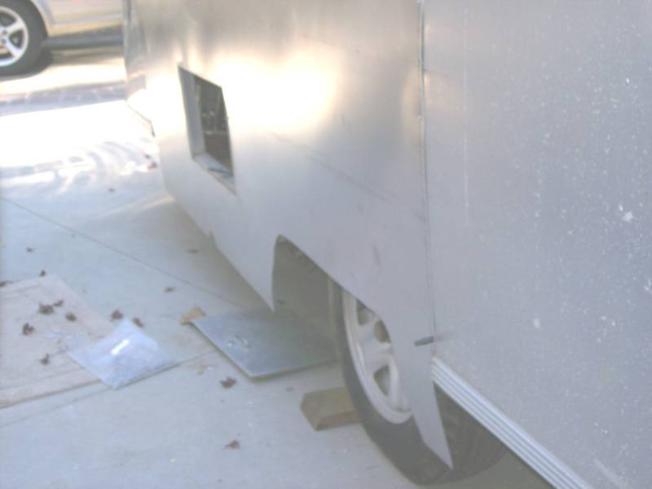
Driver Side
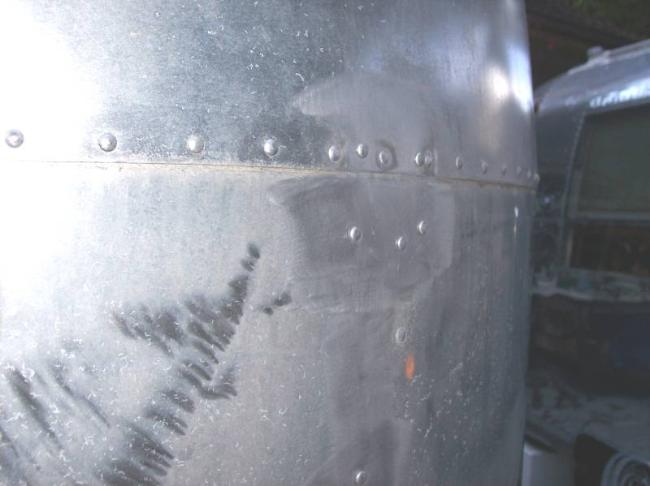
Passenger Side
Step # 1 ~ Prep for the Polishers
. Panel Replacement
. Patches
. Dent Removal
. Sanding
. Remove Storage Box & Antenna's
Antenna's & Bottles Removed
|
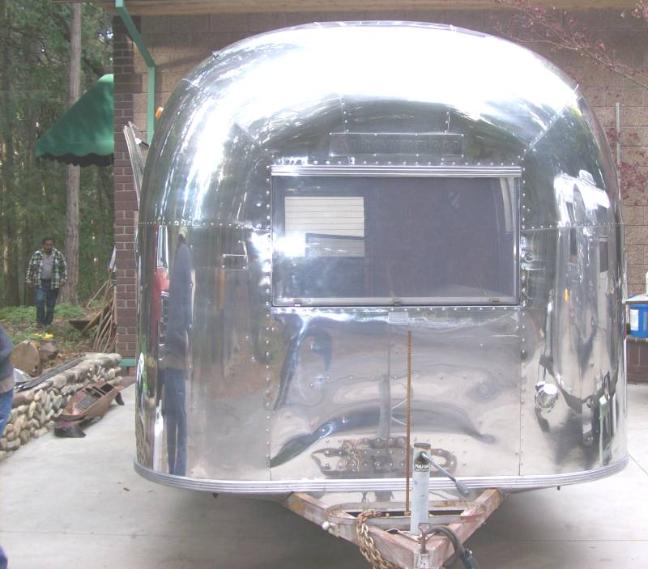
Pretty and Shiny ~ We'll be Prettying Up the Hitch Soon
|
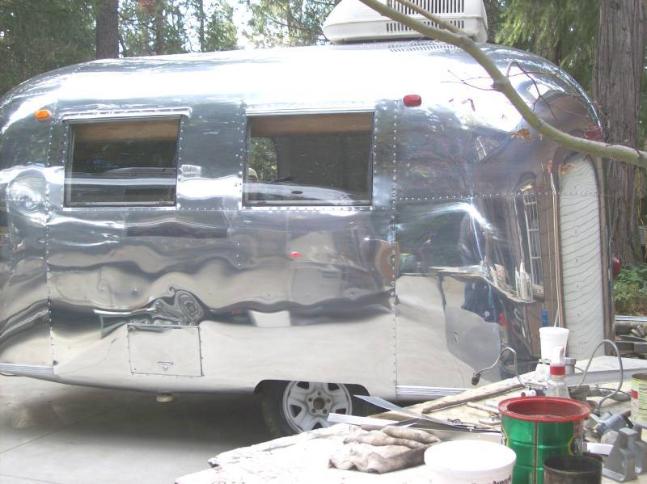
Driver Side Looking Good with her Panel Replacement
|
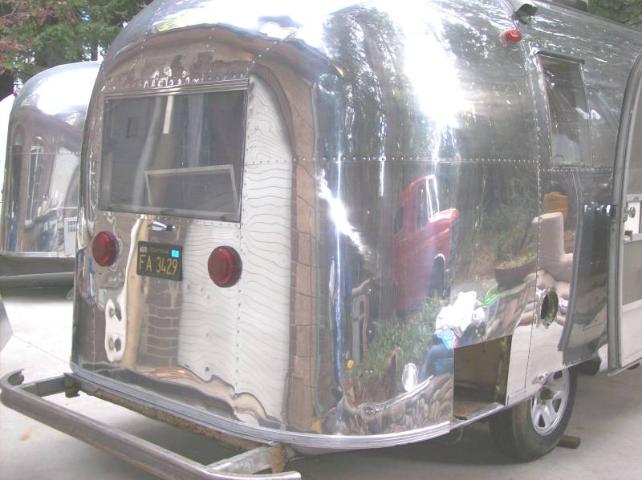
Passenger Side & Rear View
|
That's Joe Getting Ready to launch into the Inside Restoration
|
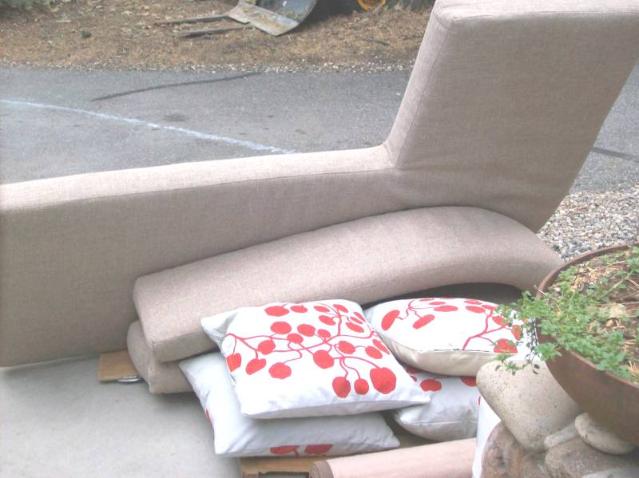
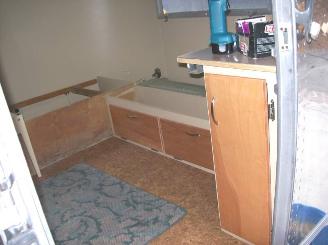
Everything & I Mean Everything Gets Taken Out!
|
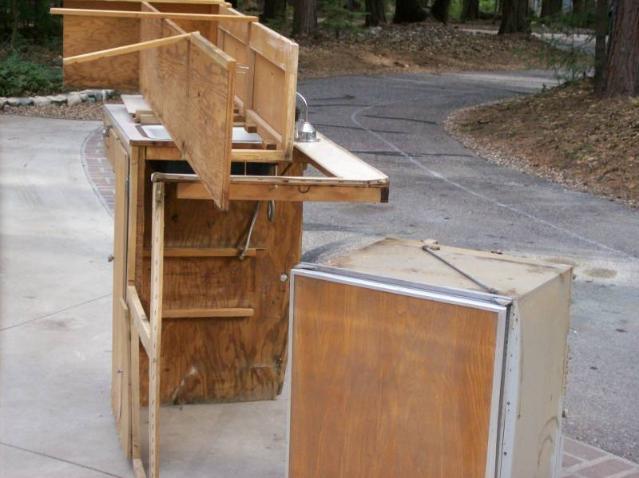
Ripping Out the Big Stuff.
|
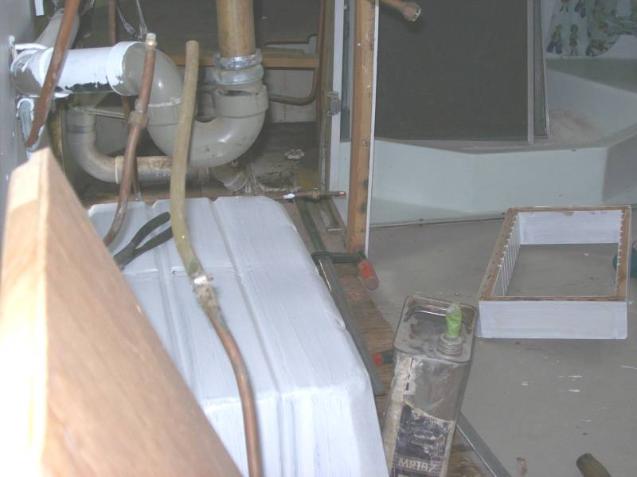
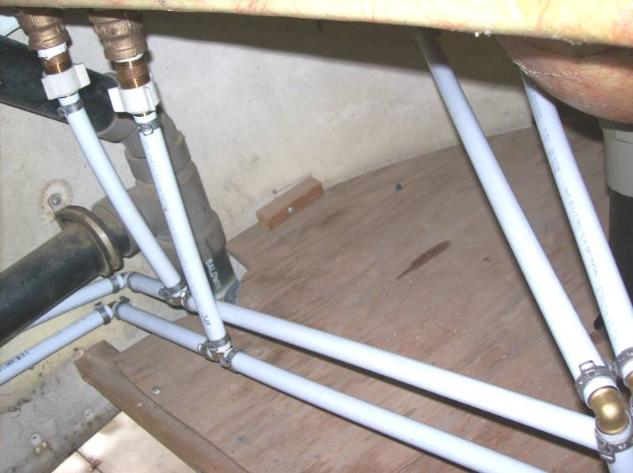
Plumbing Exposed ~ Recommendation is to re-plum in PEX
|
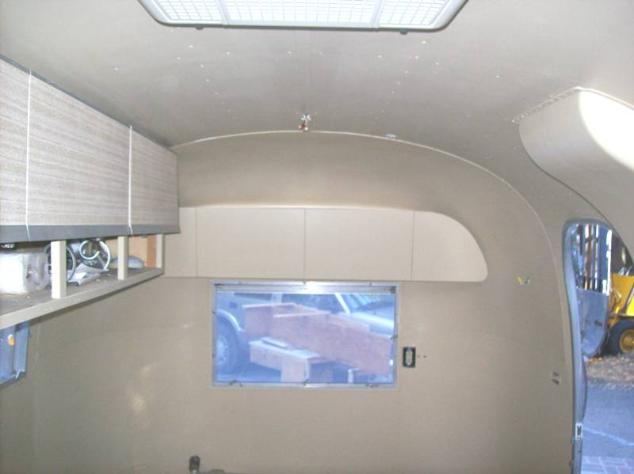
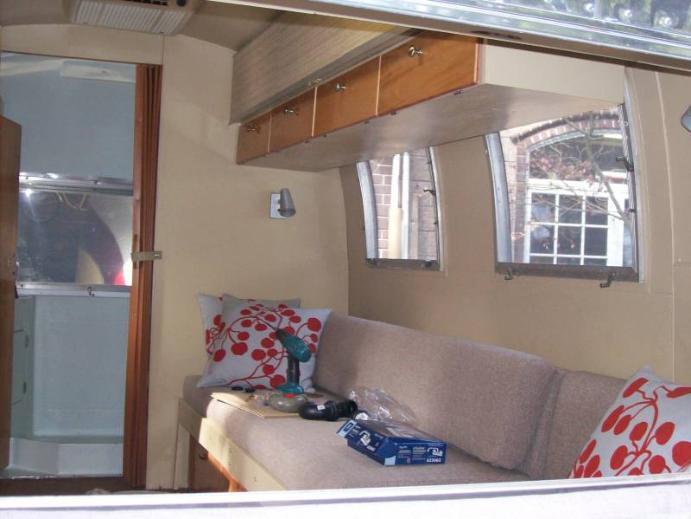
A Perfect Compliment to Existing Tweed Look Cabinetry
|
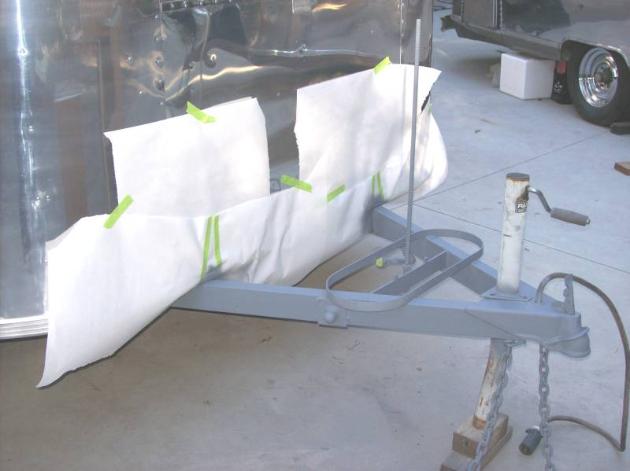
Hitch Prepped & Primered for Paint
|
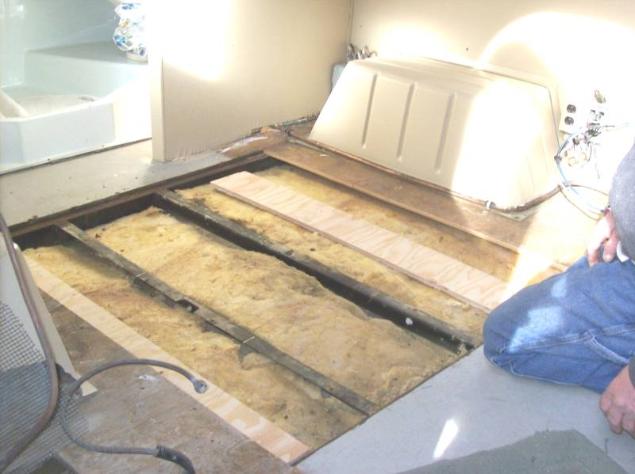
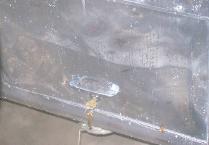
Floor did not feel Sound so we cut into the floor.
Torsion Type Axle has lost all it's spring.
Recommendation: New Axle
(Now we know why the Cabinets were torn away from the Walls)
|
Re-Keyed the Locks & Took the pictures in the RAIN
|
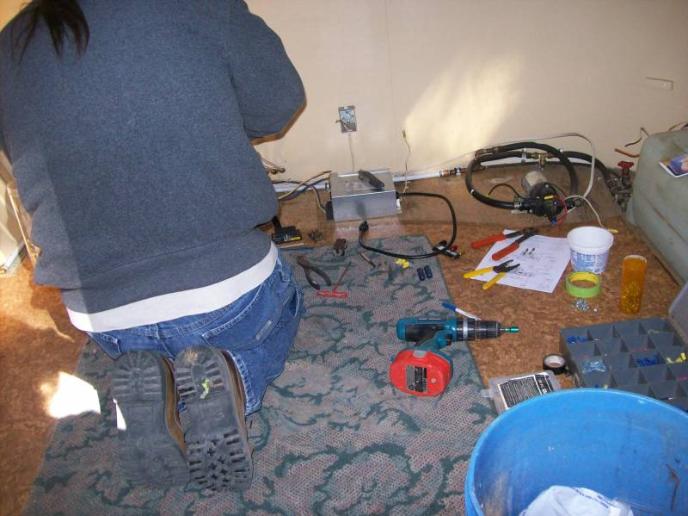
A Whole Lot of Electrical Going On
|
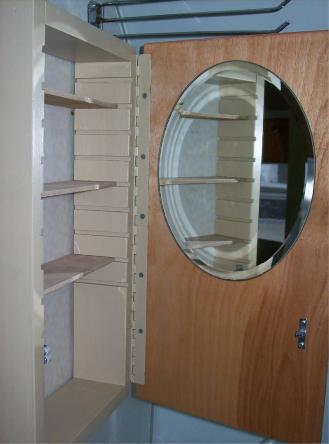
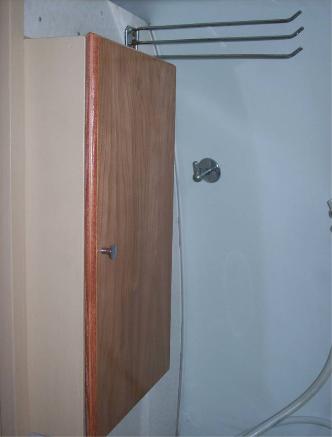
Bathroom Cabinet Refurbished ~ Cute Little Mirror on the Inside
|
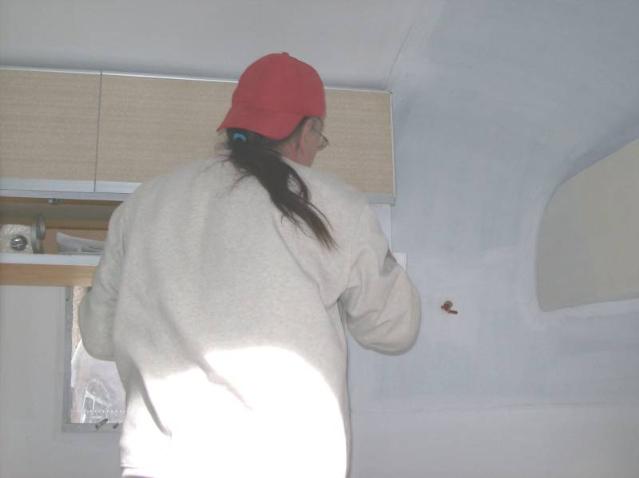
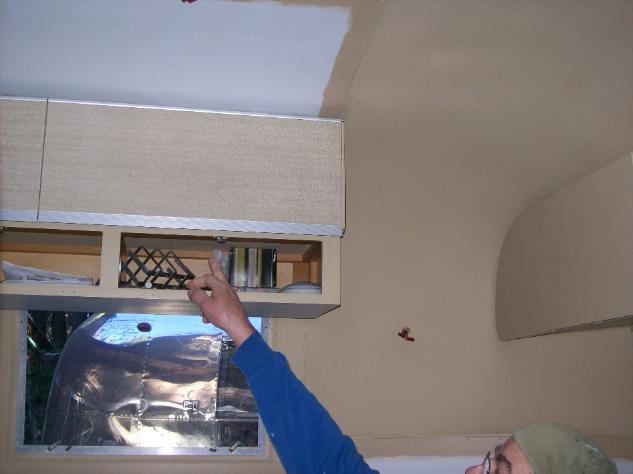
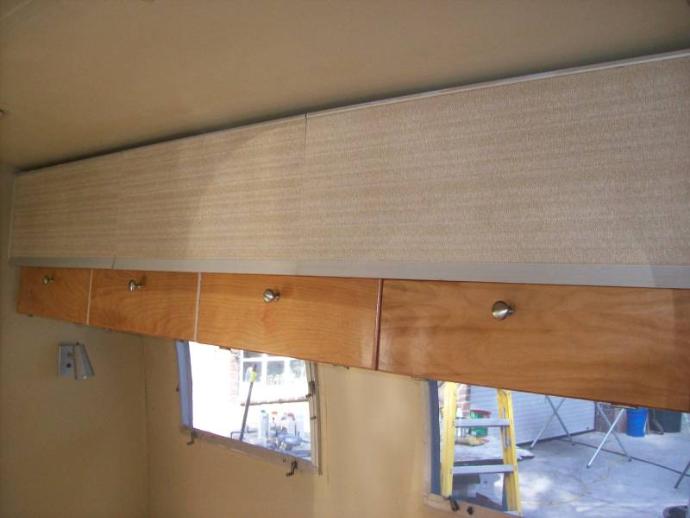
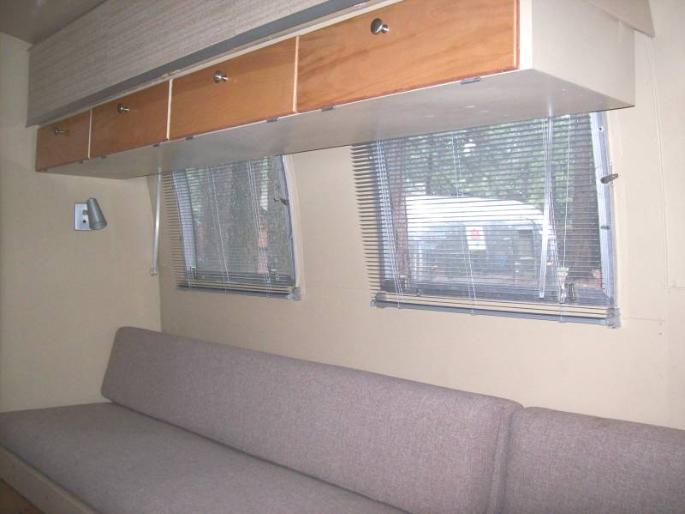
Over the Bed Cabinets Sure Look Better!
|
Original Look
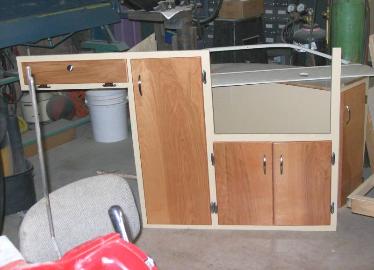
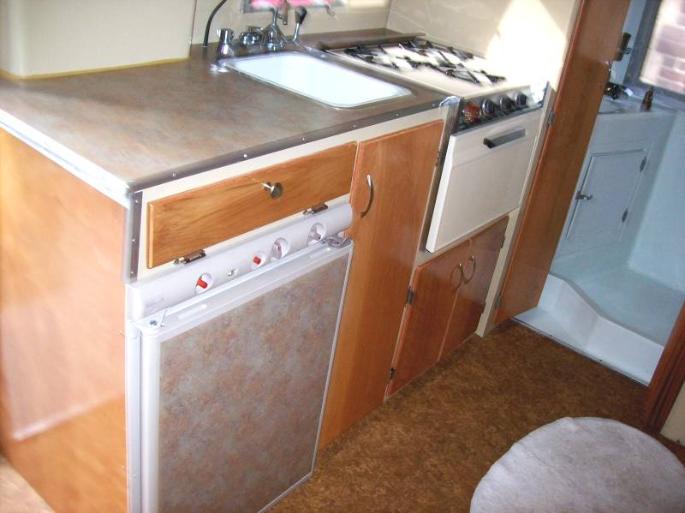
Original Kitchen Cabinets Ready to go back in
|
Re-Do on Bathroom Cabinets
|
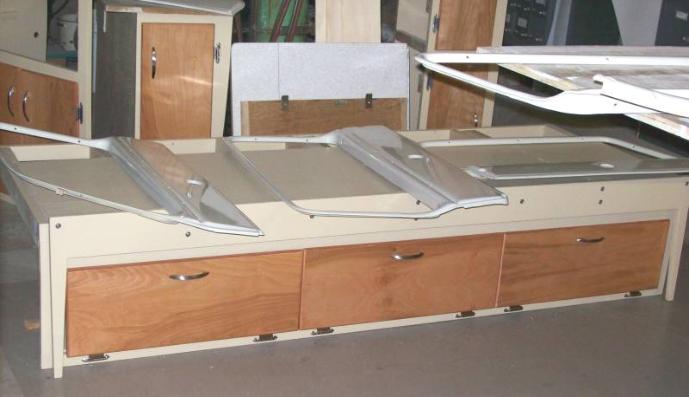
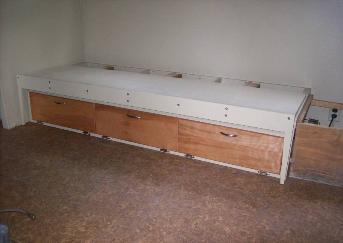
Original Bed Platform Ready to go back in
|
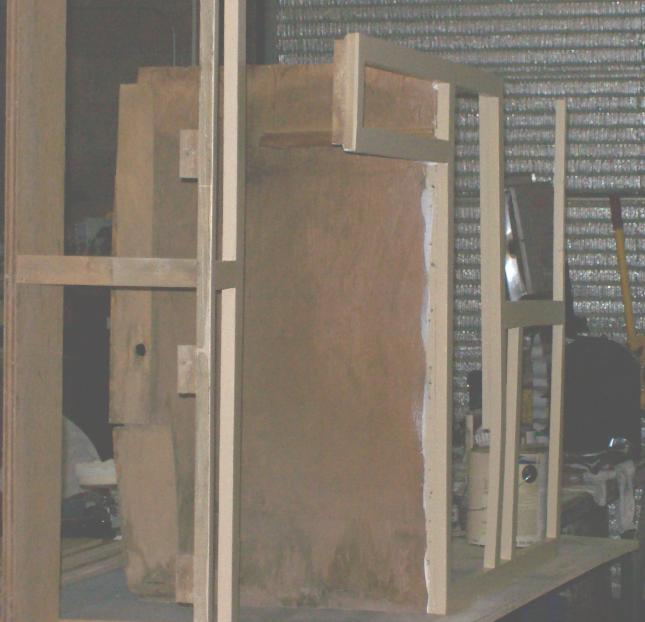
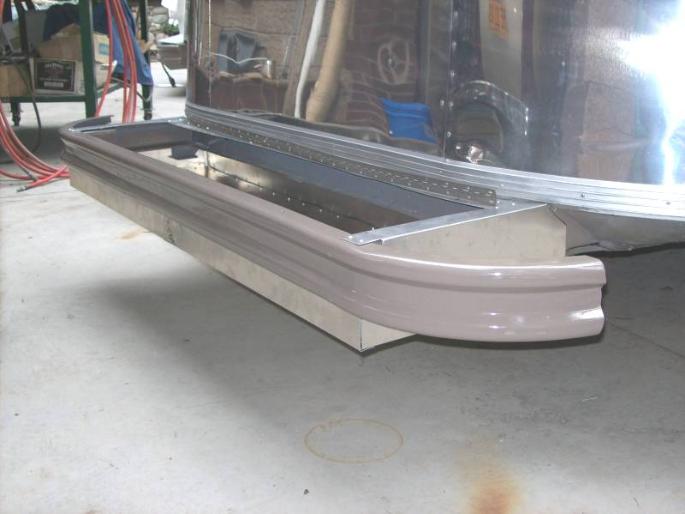
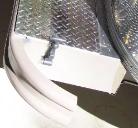
Bumper Storage Compartment "In the Works"
|
Windows are not part of this project)
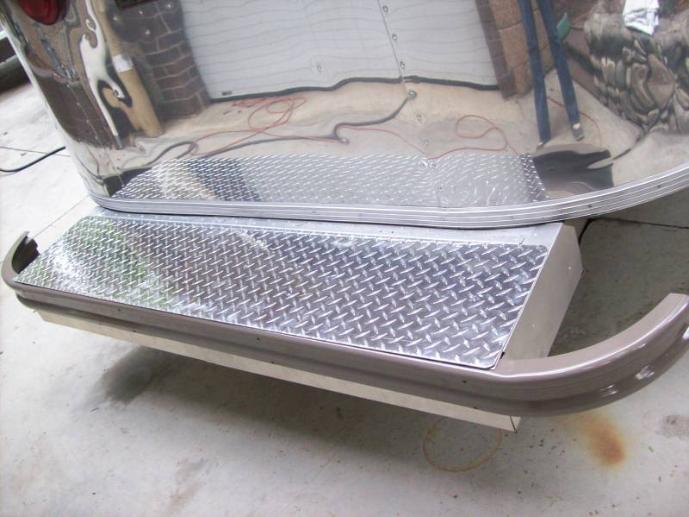
Diamond Plate on New Bumper Box
|
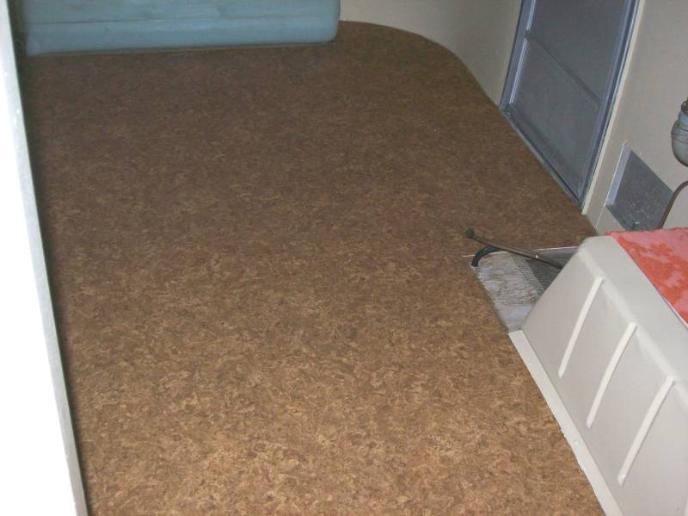
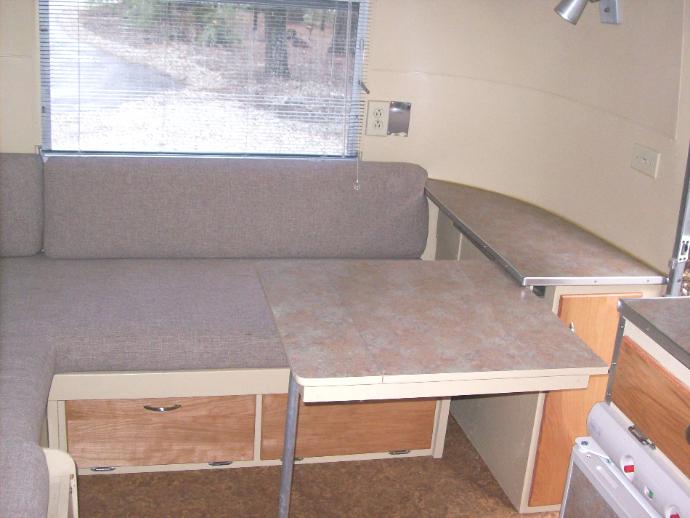
Counter top Laminate Action!
|
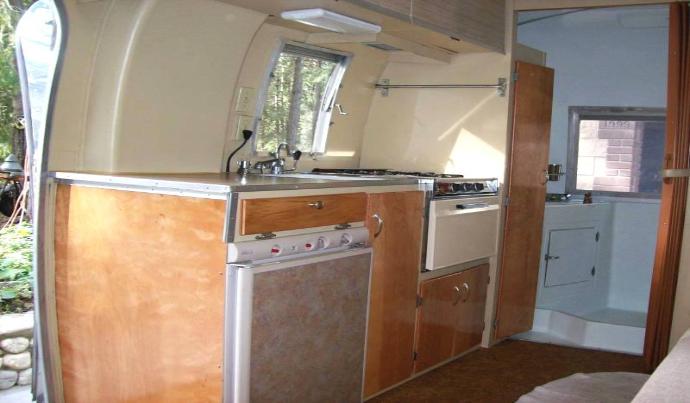
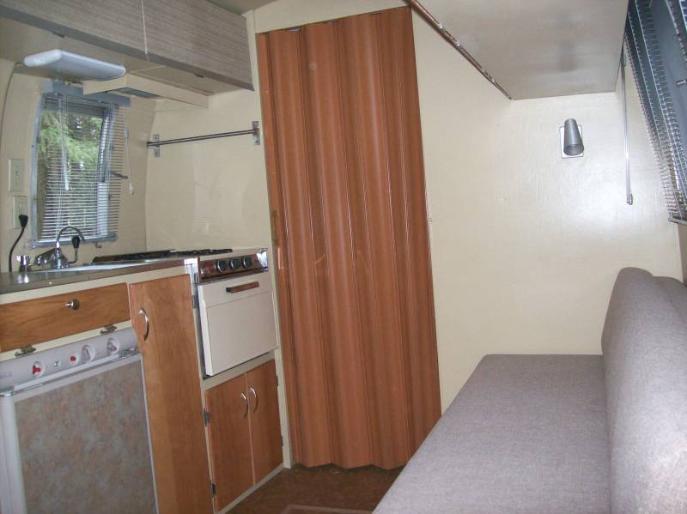
Kitchen Area Complete ~ Awaiting Mini Blinds
|
Construction Complete but really needs Mini Blinds to finish it off
|
Air Conditioner Painted Silver
|
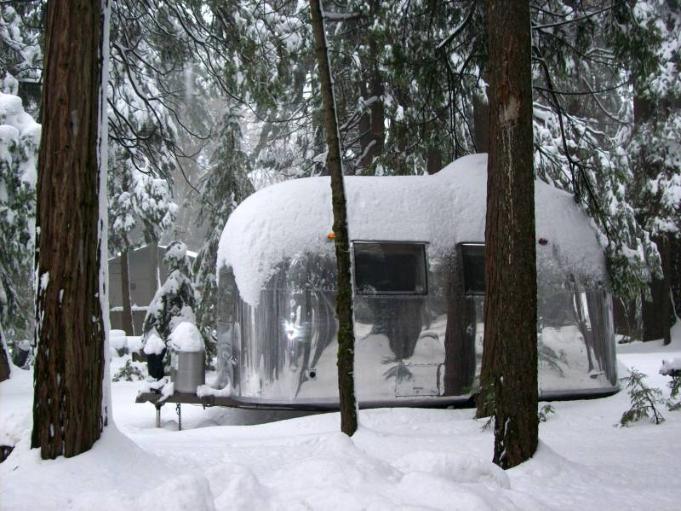
Definately Christmas Card Material
|
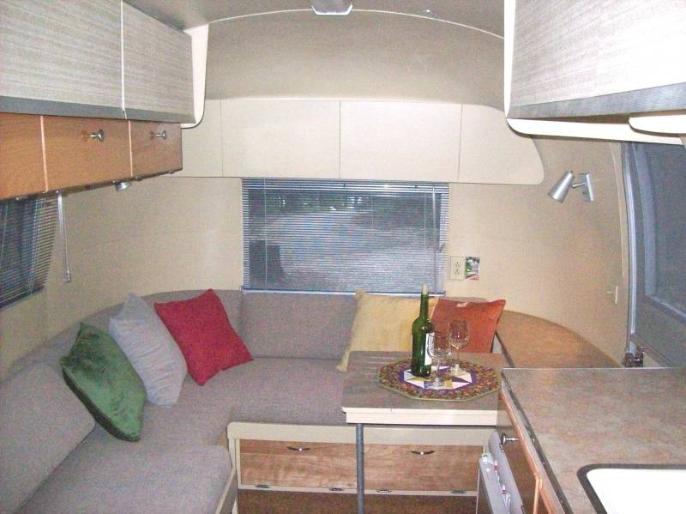
Mini Blinds gave Caravelle Cutie the Finishing Touch
|
Kitchen Mini Blinds ~ Check Out the Look with Bathroom Door Closed
We matched the Color of the Cabinets to the Color of the Door
|
Nice Blinds but Screams for Color
(Table Leaf Stored in Cabinet to Right)
|
The Rest of the Story ...
Week by Week Process & Progress
|